Caramelized Onion & Marrow Spread
I’ve been making an effort to live with less clutter. Like most people, I’m sure I own more things – clothes, documents, random objects – than I need. Coming to Glasgow with probably less than half the stuff I have back home, made me realize that there are only a few objects I can’t live without. I’ve also been trying to keep things simple in the kitchen, even though this is a big challenge for me because I’m not the kind of cook who intuitively works with only a few ingredients per recipe. I love layering flavours and textures on top of each other, and that’s how I naturally cook most of the time. That probably also explains why I’ve always been more drawn to middle-eastern and southeast asian cuisines (lots of things going on, flavour and texture-wise) than mediterranean (simple – but killer – ingredient combinations).
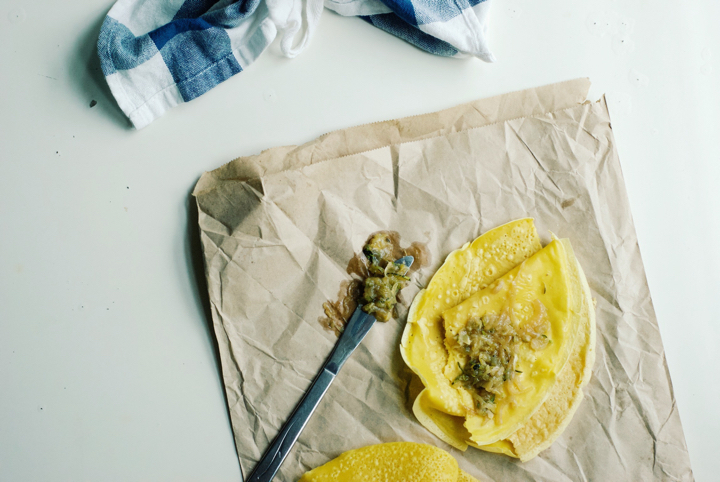
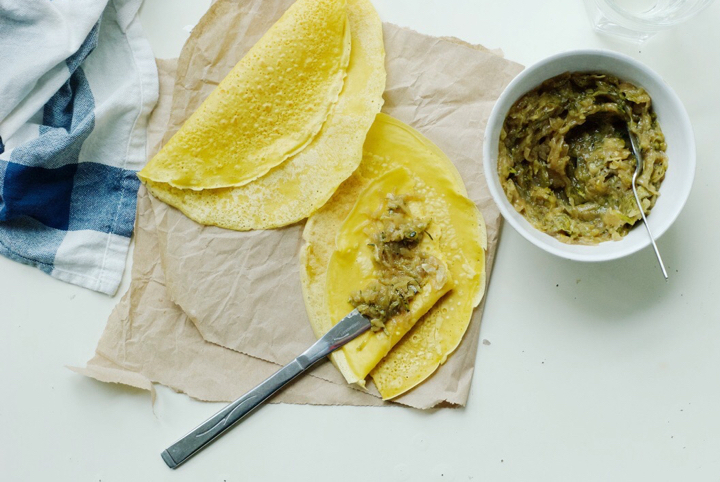
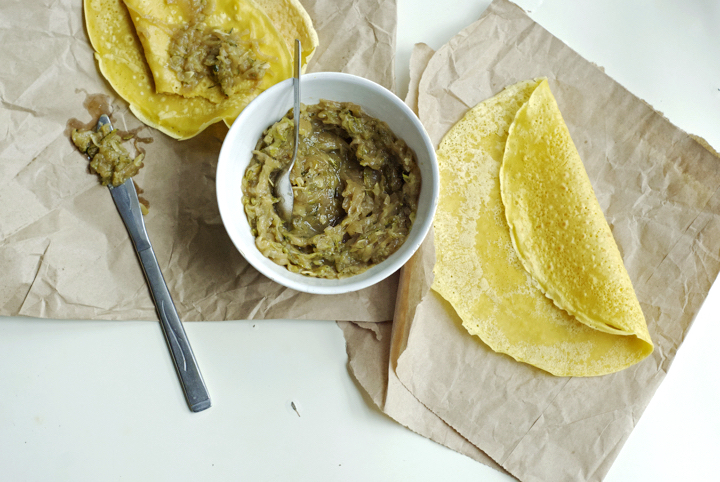
The recipe I’m sharing with you today, although only requiring a few ingredients, has an amazing complex flavour that results from the long cooking time. Just like in this recipe, the onion and marrow flavours and textures are pushed to the limit, and the outcome couldn’t be better. I know that some of you will probably be put off by the idea of peeling and chopping several onions, grating and squeezing the marrow, and waiting more than one hour for the dish to be ready. And since we’re at it, I must advise you there really are no shortcuts here – the vegetables have to brown and caramelize slowly, or there won’t be the same kind of flavour development. But if you think about it thoroughly, most of the cooking time is inactive and, in the end, you’ll end up with an amazing vegetable “jam” that is versatile and tasty enough to be used as a pasta sauce, served on top of cooked lentils, spread on toast and, my personal favourite, used as a filling for chickpea crêpes.
Caramelized Onion and Marrow Spread
(serves 6, as a starter)
Note: As an effort to eat less salt, I’ve been using Lo Salt lately. You can definitely use sea salt in this recipe, but adjust the amount (you’ll probably only need ½ or ¾ teaspoon of it).
Recipe inspired by food52
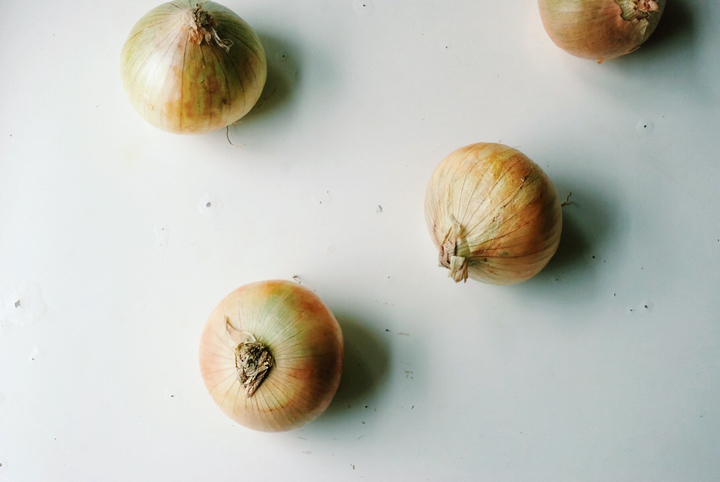
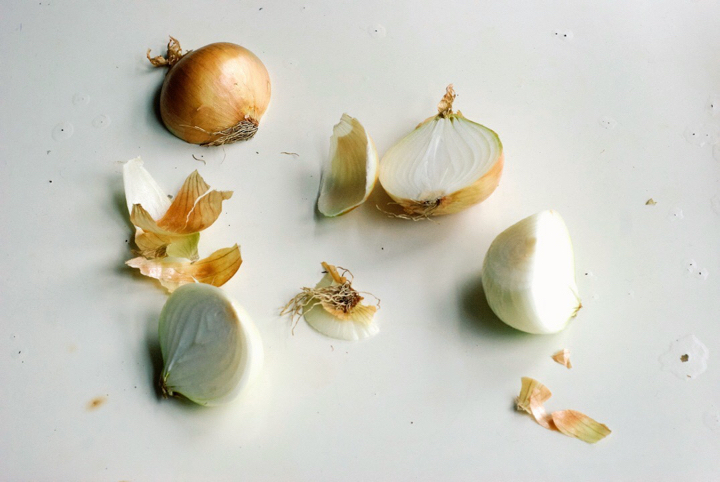
4 large onions, peeled, cut into half-moons and thinly sliced
6 Tablespoons olive oil, divided
2 Tablespoons water
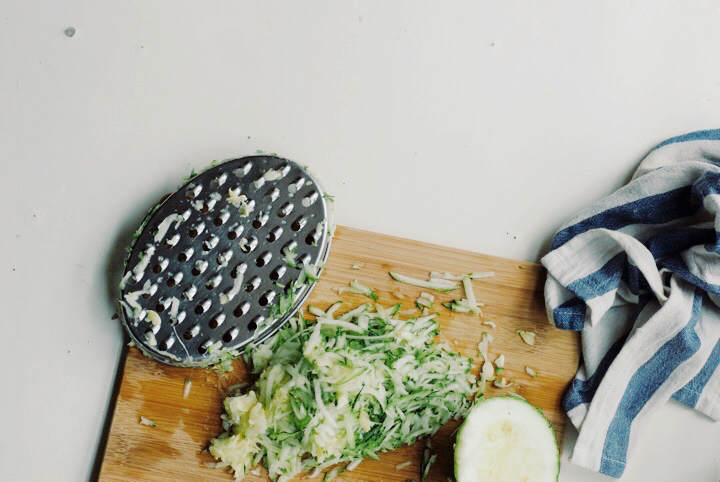
1 large marrow
1 ½ teaspoons lo salt (see note above)
½ teaspoon freshly cracked black pepper
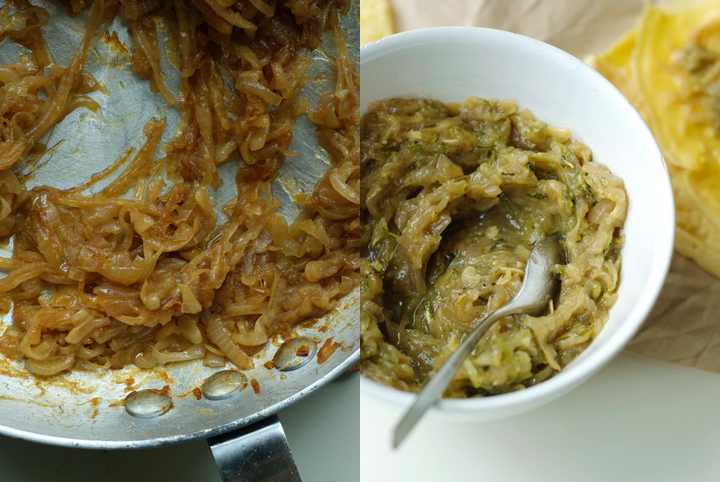
Heat 4 tablespoons of oil in a large pan over medium heat. When the oil is hot, but not smoking, add the sliced onions. Give the mixture a good stir, so that the onion slices are evenly coated with the oil. Leave undisturbed for 10-15 minutes, so that the onion slices in the bottom of the pan crisp up and brown slightly. After that time, stir the mixture again and reduce the heat to low. Cook for additional 45 minutes. Stir every 20 minutes and add 1 tablespoon of water each time (2 in total), to release some caramelized bits that might have stuck to the bottom of the pan.
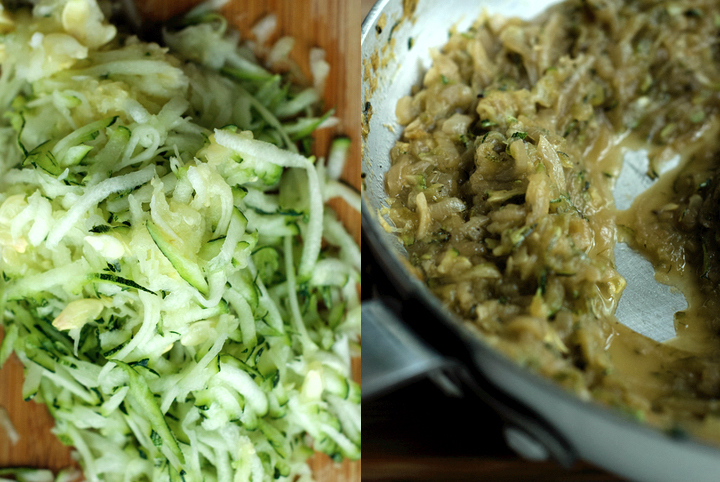
In the meantime, grate the marrow into a large bowl. Transfer the grated marrow to a colander and squeeze it with the back of a spoon (or using your hands) to release as much water as possible. Set aside until the onions are cooked.
As soon as the onions have caramelized, add the marrow, low salt, pepper and additional 2 tablespoons of olive oil to the pan. Cook, stirring often, for additional 30 to 40 minutes, or until the marrow has reduced significantly and the mixture has a jam-y kind of texture. The spread can be kept, stored in a airtight container in the fridge, for up to 1 week.
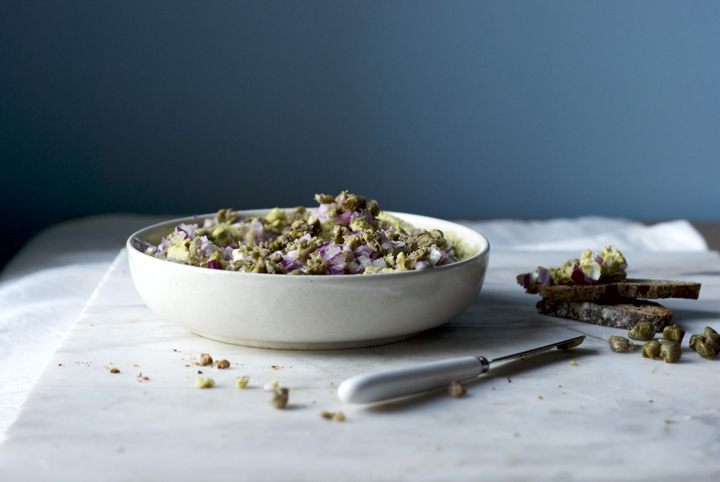
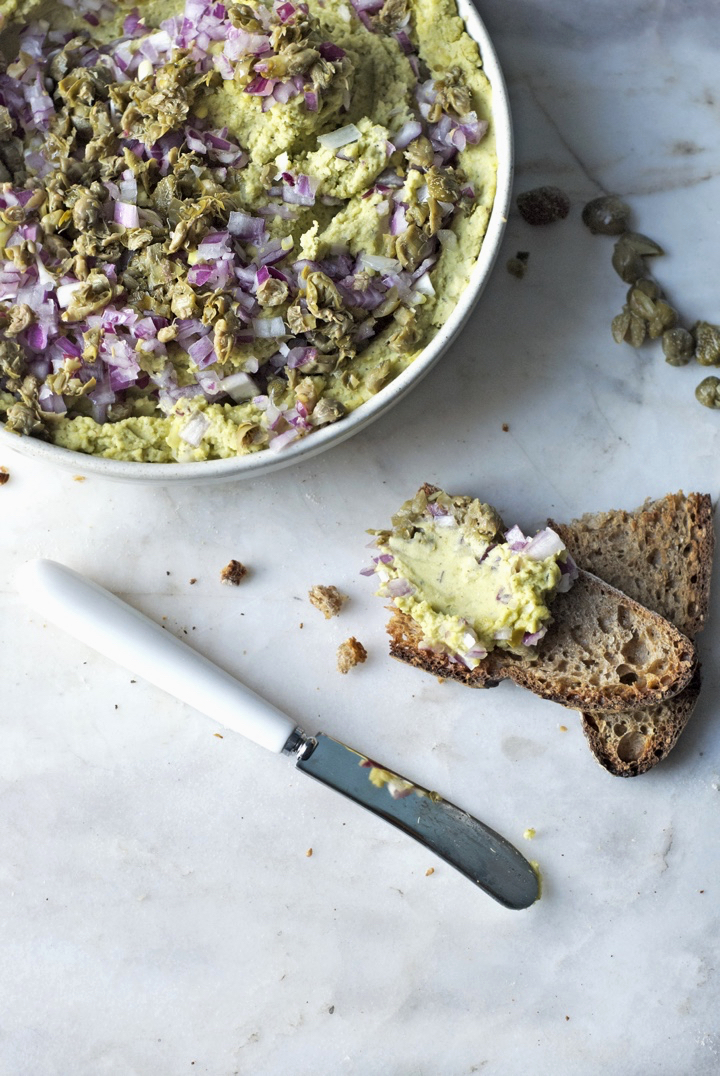
Split Pea Hummus with Capers & Red Onion
Every time I have guests for dinner, I typically serve some sort of homemade hummus or vegetable spread as an entrée. Most of the time I end up making the good old chickpea hummus because it’s one of favourite spreads and everyone loves it. But if I’m pressed for time (because yes, I’m in that tiny group of crazy people who actually thinks that removing the chickpeas’ skins is the secret to making the perfect hummus), I use split peas instead.
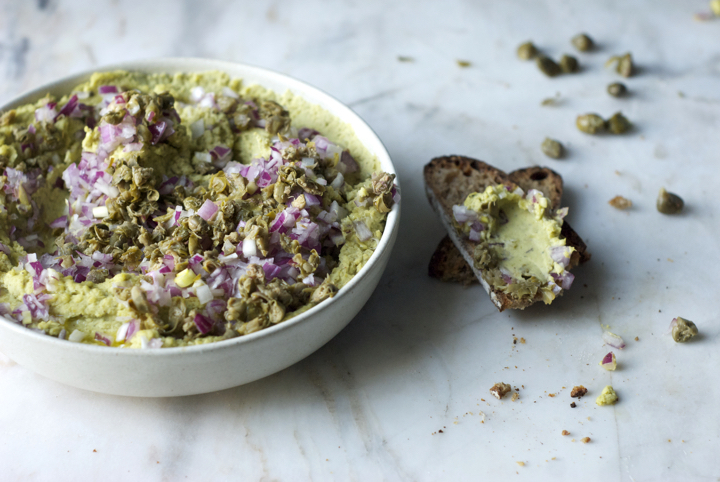
This is an incredibly easy, yet really tasty bean spread that’s perfect served on top of toasted bread or used as a dip for raw vegetables. I love to dip carrots and turnips into this hummus, but peppers (cut into strips), raw broccoli florets and/or parsnips are also excellent options.
I always have this thing going on with the blog where I try to balance more complex recipes with everyday, casual ones. That balance is hard to strive because people who aren’t familiar with vegan cooking tend to prefer simple and straightforward recipes, whereas long time vegans and/or foodies appreciate bold and unusual combination of ingredients and techniques.
At the end of the day, I always try to stay true to myself and my cooking “style”. However, I hope that recipes like this one – that do not involve a long list of ingredients but deliver on flavour – inspire people to venture into cooking more vegan food and, most importantly, help break the misconception that eating vegan is all about pricy superfoods and green smoothies (nothing against both, it just totally annoys me when I hear people saying that – and I do, all the time).
Split Pea Hummus with Capers & Red Onion
serves a crowd
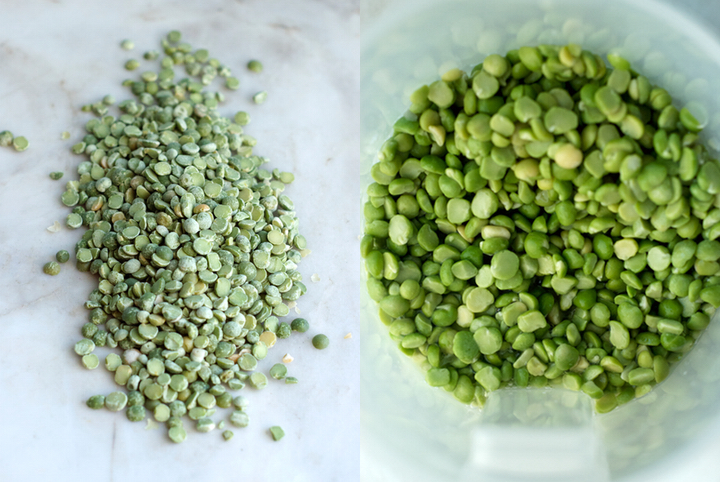
195 g / 1 cup green split peas, soaked overnight, drained and rinsed
¾ teaspoon sea salt
¼ teaspoon freshly ground black pepper
1 teaspoon za’atar
1 garlic clove, minced
2 Tablespoons extra-virgin olive oil, plus a little more for serving
3 Tablespoons lemon juice
2 Tablespoon warm water
65 g / half a medium sized red onion, finely chopped
27 g / 2 Tablespoons brined capers, rinsed, dried and chopped
Add the split peas to a large pot over medium-high heat. Add enough water to cover the peas by 2 cm (0.8 inches). Bring to a boil and, once boiling, reduce the heat to low-medium and cook for 20 minutes or until soft. Some foam might naturally form on top of the cooking liquid – in that case, just take it out with a slotted spoon.
Drain the peas once they are cooked and cooled. Add them to the bowl of a food processor along with the sea salt, black pepper, za’atar, garlic clove, olive oil, lemon juice and water. Run the machine until you get a very smooth hummus. If the mixture seems too dry, add 1 or 2 additional tablespoons of water.
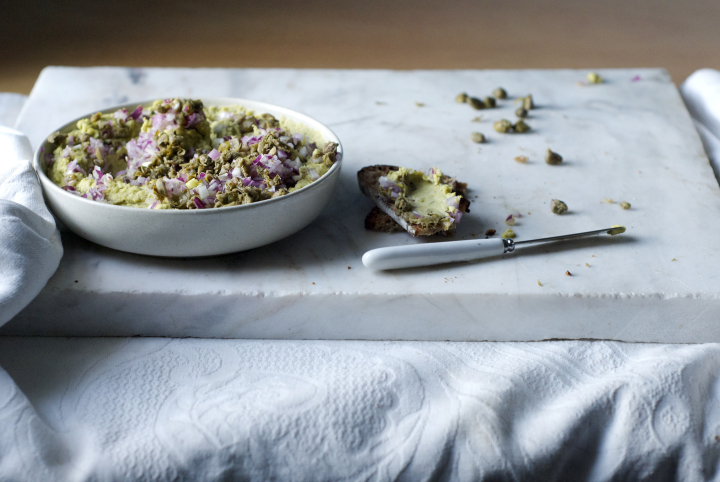
Put the split pea hummus in a medium sized deep plate. Add the red onion and capers on top and finish with a generous drizzle of olive oil.
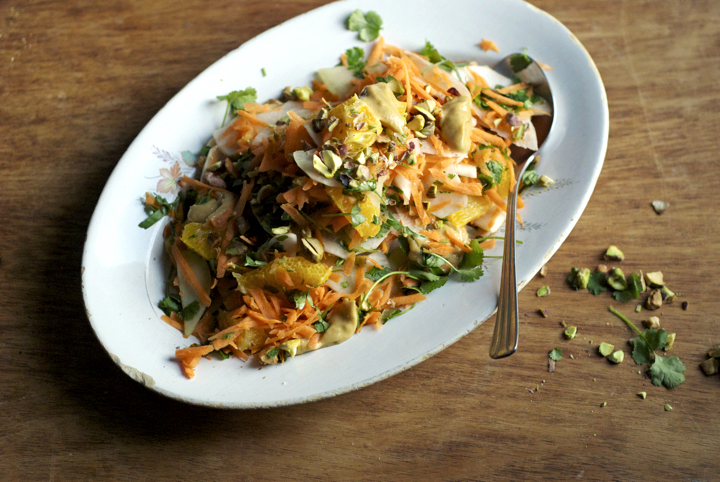
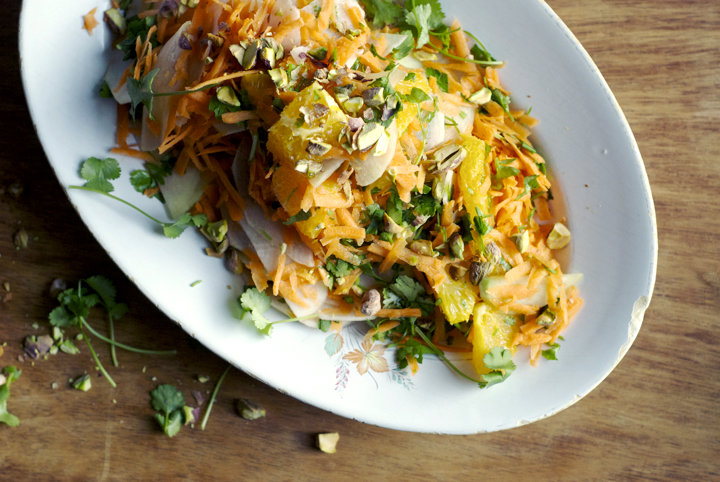
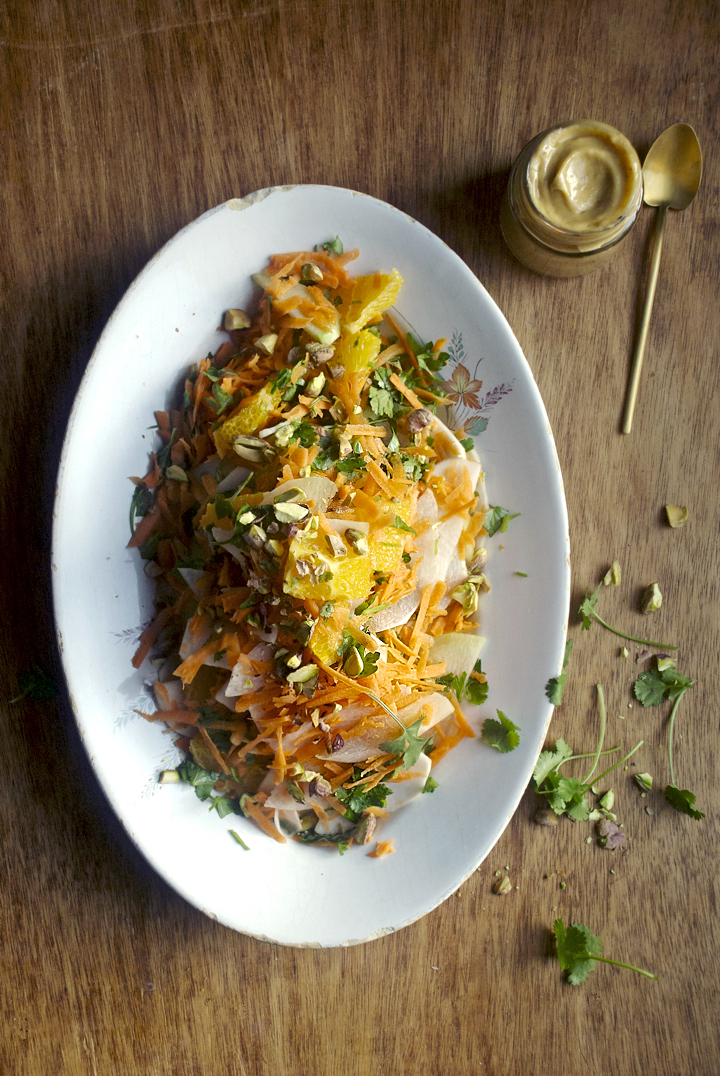
Farmers’ Market Salad with Apricot-Cumin Dressing
It’s that time of the year when the weather is getting warmer and I start craving raw and cold salads again. This week, at the farmers’ market, I brought home lots of kohlrabi and turnips with the main intention to eat them raw (which is how I like them better anyway).
I know that a lot of people aren’t particularly excited about turnips, and even though I used to share the same opinion, I’ve been rediscovering this vegetable and absolutely loving its versatility. I’ve been enjoying thinly sliced turnips with just a dash of salt and black pepper as a light snack these days – there’s something about its light and yet slightly bitter flavour that I really love.
Anyway, this salad is pretty much like a coleslaw, with lots of crispiness and different textures. I felt I needed to balance that with a smooth dressing, and that’s how I ended up making an apricot-based one. I was really pleased with how it turned out – it’s sweet and tangy at the same time, with just a hint of cumin to make it more complex and intense.
Farmers’ Market Salad with Apricot-Cumin Dressing
Serves 4
For the salad:
220 g /5 medium sized carrots, grated
140 g /1 large kohlrabi, thinly sliced
120 g /1 large turnip, thinly sliced
200 g /1 large orange, sliced into half-moons
15 g / half a bunch of parsley, finely chopped
15 g / half a bunch of coriander, finely chopped
60 g /1/2 cup pistachios, coarsely chopped, toasted and lightly salted
For the apricot-cumin dressing:
65 g /6 dried unsulphured apricots, roughly chopped
6 Tablespoons olive oil
6 Tablespoons lemon juice
3 Tablespoons water
1 ¼ teaspoons cumin seeds, toasted and ground in a mortar and pestle
¼ teaspoon sea salt
black pepper to taste
Combine all the ingredients for the salad in a large bowl.
Put the apricots in a small bowl. Pour 1 cup of boiling water over them, cover the bowl, and let stand for at least 10 minutes, or until the apricots are very soft.
In a blender, combine the drained apricots with all the other ingredients for the dressing. Blend until you get a very smooth mixture.
Pour the dressing over the salad (you might not need all of it, use just enough to coat the vegetables), mix with a wooden spoon or with your hands and serve immediately.
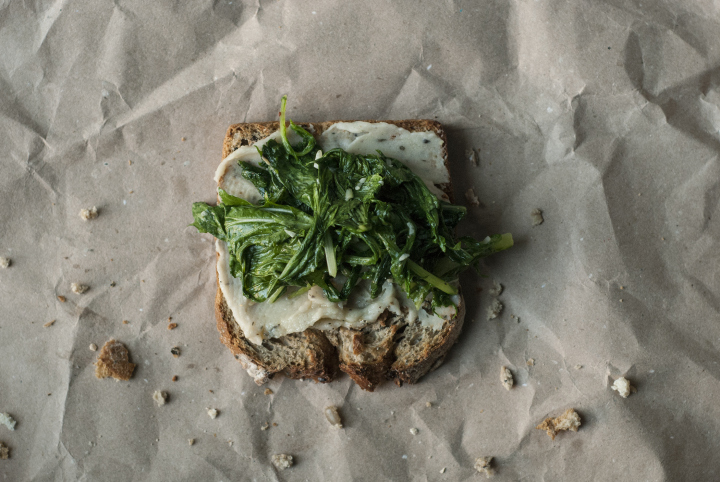
White Bean and Roasted Garlic Tartines with Wilted Greens
My favourite sources of plant-based proteins are, without doubts, beans and legumes. I’ve been eating them in abundance since I was a kid (usually in the form of soups) so they’ve never been things I’ve had to learn to like. Part of the reason why I prefer legumes over soy-based products such as tofu, for protein, is because they bring more variety of textures and flavours to the dinner table. Chillis, hearty stews, dips… there’s a whole world of possibilities with beans (and there are quite a lot different varieties to try). Besides, they’re minimally processed, something tofu isn’t.
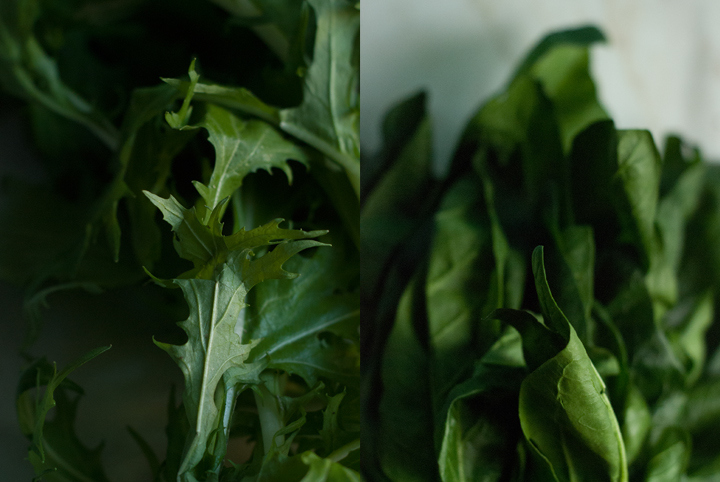
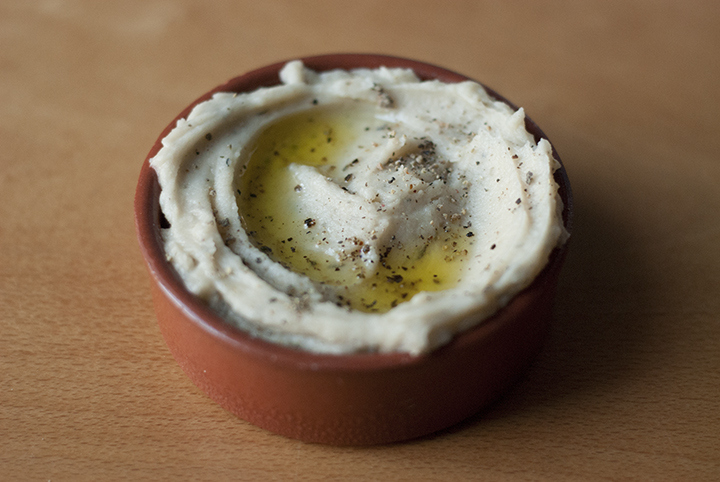 Casseroles/stews and dips have been my favourite ways of eating beans. White beans work particularly well in veggie dips as they get really soft and smooth when blended. Plus, their taste isn’t particularly strong or dominant, so you can play around quite a bit and combine them with a lot of different ingredients (another favourite of mine is the white bean and miso combo). As far as the greens go, I used both spinach and Japanese greens in here. They were simply and quickly (no longer than 2 minutes) sautéed with garlic and olive oil and added atop of the toast for a bit of bitterness. You’ll probably end up with more bean dip than you’ll actually need for the toasts – the leftovers keep well in the fridge for a week and are really great smeared on savoury pancakes and/or as a filling for lettuce wrappers.
White Bean and Roasted Garlic Tartines with Wilted Greens
(makes 4 to 6 toasts)
for the white bean and roasted garlic dip:
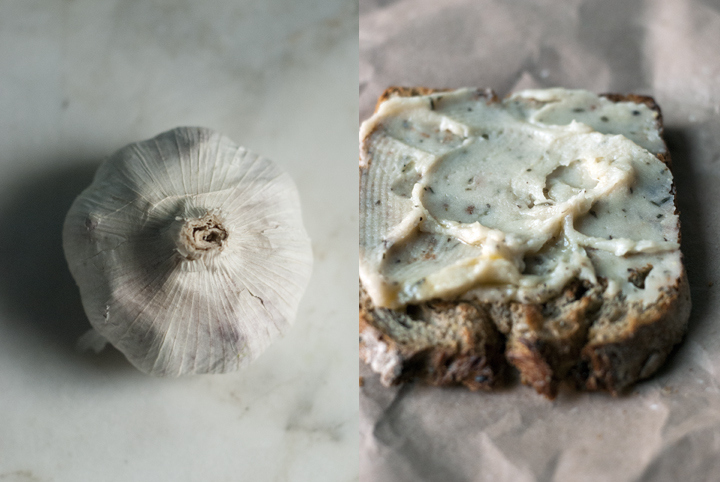
1 large garlic head / 70 g, top sliced off
1 ½ cups cooked white beans (canned is fine)
¼ teaspoon salt
½ teaspoon dried thyme
¼ teaspoon black pepper
2 tablespoons lemon juice
1 tablespoon olive oil
for the wilted greens:
250 g spinach or Japanese greens or, as I used, a mixture of both in equal parts
1 big garlic clove, minced
2 teaspoons olive oil
1 pinch red pepper flakes
salt to taste
lots of freshly grated nutmeg
4 to 6 slices of a good, whole grain bread
Pre-heat the oven to 180º.
Grab a piece of aluminium foil (15 by 15 centimetres is more than enough) and add a drizzle of olive oil over it. Place the garlic head, cut side down, over the foil and add a pinch or two of salt. Wrap the foil around the garlic head and put it in the oven, in the middle rack. Roast for 30 to 40 minutes.
In the bowl of a food processor, combine the white beans, salt, dried thyme, black pepper, lemon juice and olive oil. Squeeze the roasted garlic cloves out of their skins and add them to the bowl. Process everything until very smooth.
In a cast iron pan over medium heat, add the garlic, olive oil and red pepper flakes and fry for no longer than 30 seconds. Add the greens and gently stir everything together so that the greens get evenly wilted. Cook the greens no longer than 2 minutes and, at the very last moment, add freshly grated nutmeg.
In a separate pan, toast the slices of bread.
Spread a layer of the bean mixture over the bread slices and add the greens on top. Drizzle a bit more olive oil over each toast, if desired, and eat immediately.
Sautéed Beets with Coriander Seeds and Walnuts
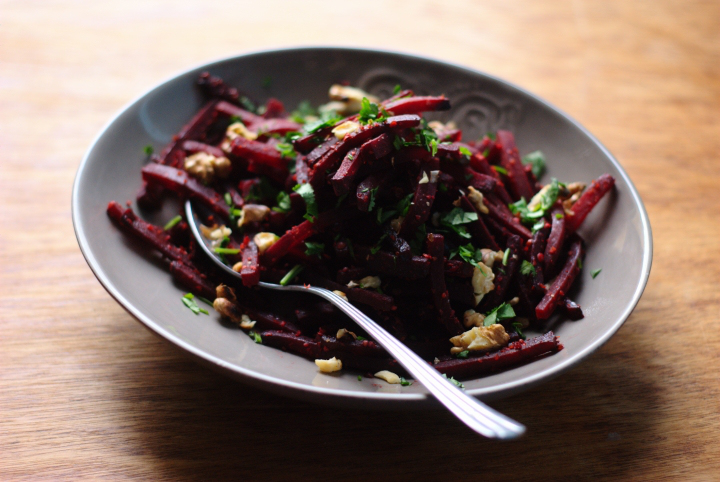
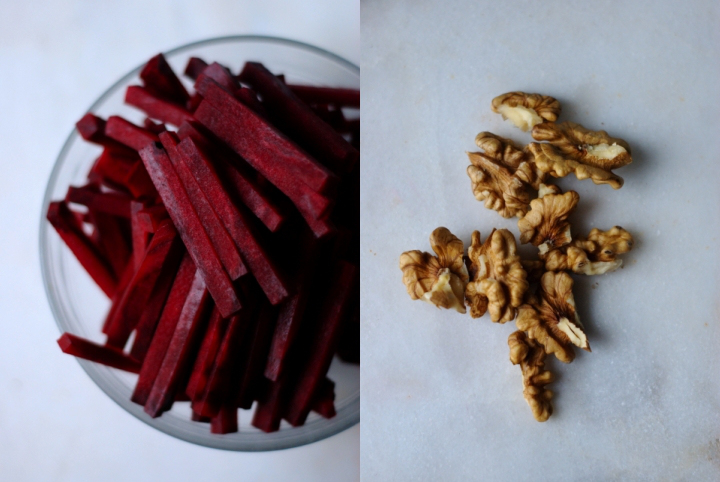
I was a little doubtful about posting this one because it’s a recipe that doesn’t aim to convert non-beet fans to beet lovers. It’s actually aimed at those people who, like myself, adore beets and cook them often. Most of the time, it’s suggested that, in order to prepare beets, you should either boil or roast them. Out of those two methods, I prefer roasting as it lends a smoky flavour to the beets; however, it can take up from 40 to 50 minutes if your beets are medium sized. The other day, I found myself trying to master the julienne technique and, without carrots in sight, I practiced with beets. The whole chopping thing took me a while – I can be a bit of a perfectionist sometimes – but, unless you’re aiming at getting perfect beet matchsticks (which I didn’t get anyway), the chopping process will only take you a couple of minutes. Alternatively, you can get the job done in no time using a mandolin. I decided to sautée the beet matchsticks with some coriander seeds and ended up with a dish that I found really flavourful in around 15 minutes. If you’re going to make this one please don’t skip the walnuts – they’re crucial to balance out the beets’ sweetness and add a very pleasant nuttiness to the whole thing.
Sautéed Beets with Coriander Seeds and Walnuts
(serves 4, as a side)
3 large beets / roughly 320 gr cut into matchsticks of about 0,7 cm width
2 teaspoons olive oil
3 teaspoons coriander seeds, ground in a mortar and pestle
¼ teaspoon salt
1 ½ tablespoons red wine vinegar
1 big handful toasted walnuts
1 handful chopped coriander leaves
a splash of lemon juice
1. In a large non-stick frying pan over medium-high heat, add the olive oil, the beets and the coriander seeds. Sautée for 1 to 2 minutes and, as soon as the pan starts sizzling, cover it with a lid. Let the beets cook for 10-12 minutes, lifting the lid once or twice to give it a good stir, or until al dente. At the very last minute of cooking, add the red wine vinegar, salt and toasted walnuts to the beets. Stir well and transfer to a platter, finishing up with a splash of lemon juice and chopped coriander. The beets are particularly good served over cooked brown rice.

leave a comment