Blueberry Coconut Cake
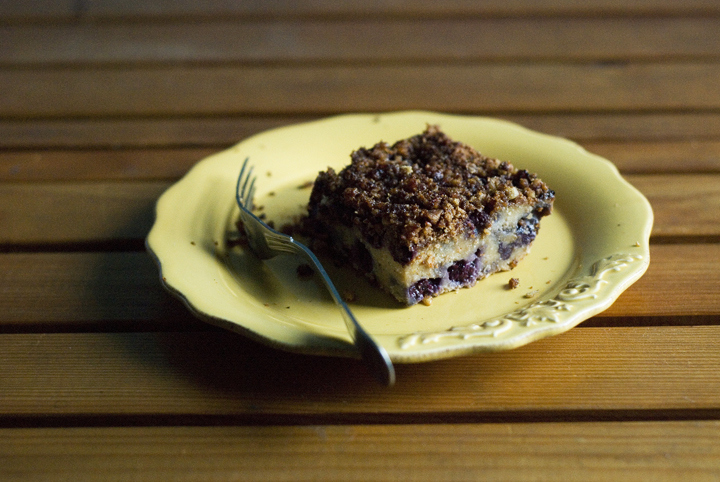
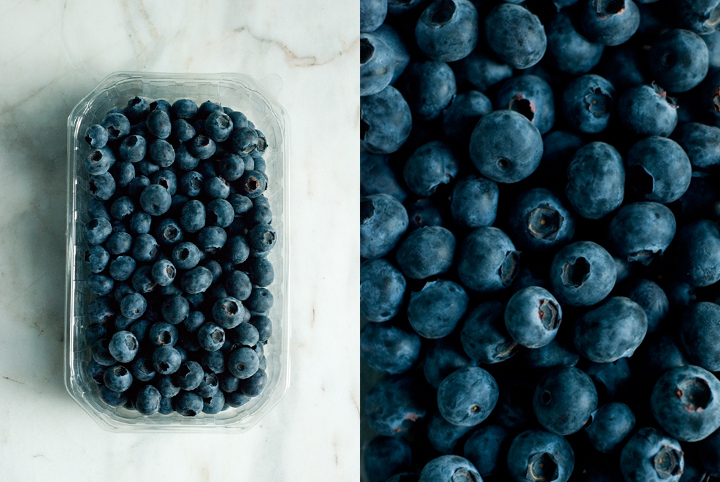
When God gives you blueberries…. you either a) eat them in one sitting on a particularly lazy Sunday night (as if they were popcorn), or b) drag yourself into the kitchen and, despite the hot temperature (the thermometer has been reaching – and even passing – 30º degrees these days) decide to bake a blueberry cake. After giving the issue some thought and, frankly, not without a few doubts, I went with the last option.
I haven’t baked anything with any sort of berries before, mostly because I can’t help myself from eating them in their natural state, as they taste so incredibly good when in season (as now). However, I most say, if you’re going to make this cake you’re into something. Because, that night, I didn’t bother to check up online recipes and ratios for this particular baked good, I approached it in the same way I work with savoury foods – tasting as I go, paying attention to the amount of liquid added in order to reach the right batter’s consistency…. that sort of intuitive thinking.
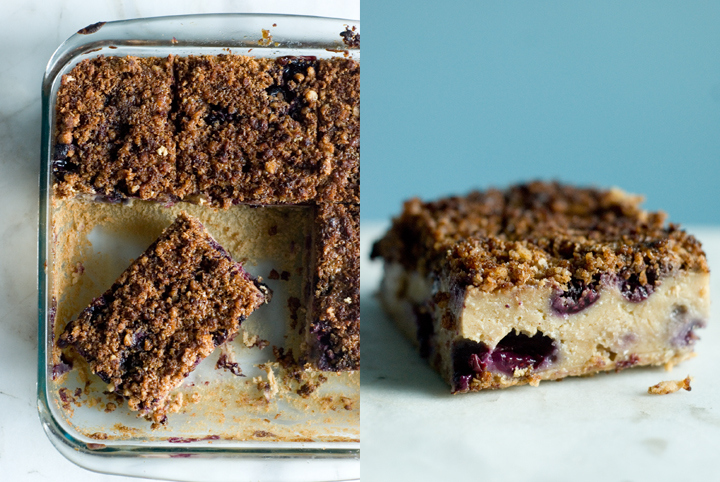
I know (as we all do) that berries love coconut, so that really was my starting point. The cake is full with blueberries (that you could easily substitute with raspberries or blackberries), not too sweet, and with that nutty-crunchy finish that gives it character and an extra boost of flavour. Now, you guys can definitely call me inconsistent – I deserve the title – because I’ve been saying way too many times that baking is not my cup of tea but, honestly, and what I’m about to say is quite a statement, this is probably the best and most accomplished sweet treat I have ever made and shared on this blog.
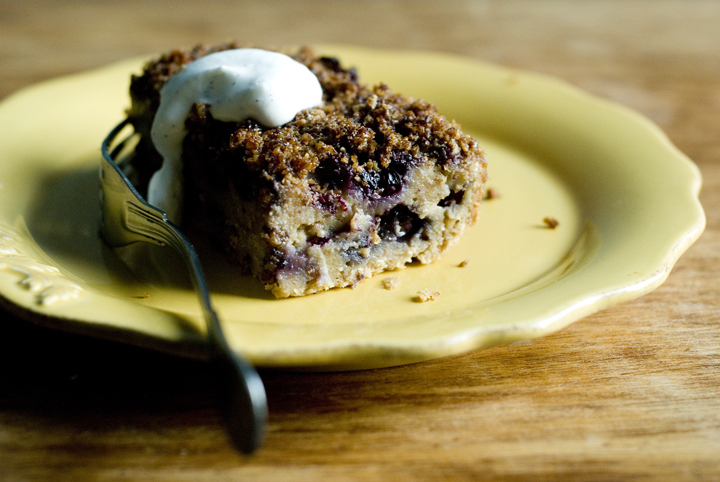
Just a little last note: you can definitely serve the cake with some coconut whipped cream on the side. I don’t have a particular recipe for it but this is how I generally do it: freeze, upside-down, a can of coconut milk for a few hours; open the can, pour the creamy part into a bowl (discard the liquid), add a sweetener (I usually go with agave) and maybe the seeds of half a vanilla bean, mix everything together, et voilà!
Enjoy the summer, do not forget the sun protection cream, and eat your berries (they’re full of antioxidants and other good things that google will be more than happy to tell you). ;)
Blueberry Coconut Cake
(makes 1 cake in a square 20 cm pan)
for the dry mixture:
1 ½ cups / 180g brown rice flour
½ cup / 40 g desiccated coconut
¾ cup / 80 g quinoa flour
1 tablespoon baking powder
¾ teaspoon salt
zest of one lemon
for the wet mixture:
¼ cup / 60 ml melted coconut oil
1/3 cup /55 g coconut sugar
¼ cup / 60 ml agave nectar
2 tablespoons flaxseed meal mixed, in a bowl, with ¼ cup / 60 ml water
1 ½ cups / 375 ml light coconut milk
for the topping:
½ cup / 52 g coarsely ground walnuts
½ cup / 40 g desiccated coconut
2 tablespoons coconut oil
4 tablespoons coconut sugar, divided
½ teaspoon cinnamon
¼ teaspoon salt
–––
2 cups / 290 g blueberries
extra coconut oil, for greasing the cake pan
Pre-heat the oven to 180ºc /350 F. Grease a square 20×20 cm pan with melted coconut oil. Set aside.
In a medium sized bowl, mix the topping’s ingredients, adding only two tablespoons of coconut sugar instead of the four written above (you’ll use the remaining two tablespoons later).
Sift the dry ingredients into a large bowl. In a separate bowl, whisk together the wet ingredients. Pour the wet mixture over the dry one and mix slowly until everything’s well incorporated and you end up with a slightly thick batter.
Pour half of the cake batter into the bottom of the pan. Add one cup of blueberries on top, making sure to distribute them evenly. Add the remaining half of cake batter, followed by the last layer of blueberries. To finish things off, cover the cake with the coconut-walnut topping.
Bake the cake, in the pre-heated oven, for 45 minutes. After that time, take the cake out of the oven and scatter the remaining two tablespoons of coconut sugar on top of it – make sure you cover all the cake’s surface with the sugar, so that you end up with a crisp and caramelised layer. Return the cake to the oven for an additional 5 minutes. Once done, let it cool to room temperature, cut into squares and serve. Even though I like to eat it plain, it goes particularly well with coconut whipped cream.
Sautéed Beets with Coriander Seeds and Walnuts
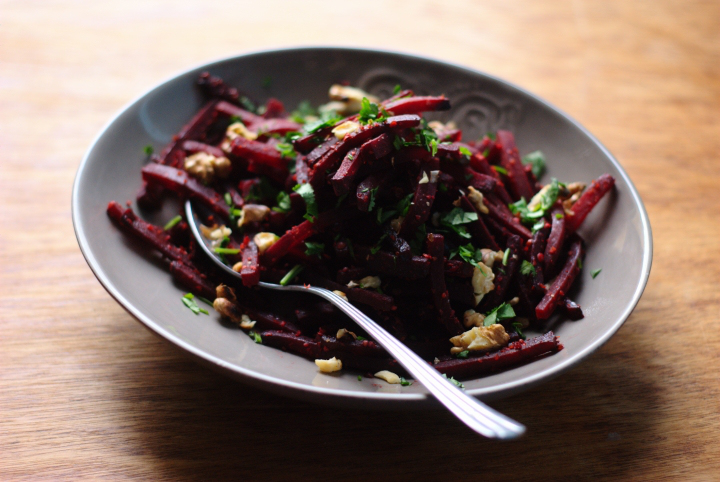
I was a little doubtful about posting this one because it’s a recipe that doesn’t aim to convert non-beet fans to beet lovers. It’s actually aimed at those people who, like myself, adore beets and cook them often. Most of the time, it’s suggested that, in order to prepare beets, you should either boil or roast them. Out of those two methods, I prefer roasting as it lends a smoky flavour to the beets; however, it can take up from 40 to 50 minutes if your beets are medium sized. The other day, I found myself trying to master the julienne technique and, without carrots in sight, I practiced with beets. The whole chopping thing took me a while – I can be a bit of a perfectionist sometimes – but, unless you’re aiming at getting perfect beet matchsticks (which I didn’t get anyway), the chopping process will only take you a couple of minutes. Alternatively, you can get the job done in no time using a mandolin. I decided to sautée the beet matchsticks with some coriander seeds and ended up with a dish that I found really flavourful in around 15 minutes. If you’re going to make this one please don’t skip the walnuts – they’re crucial to balance out the beets’ sweetness and add a very pleasant nuttiness to the whole thing.
Sautéed Beets with Coriander Seeds and Walnuts
(serves 4, as a side)
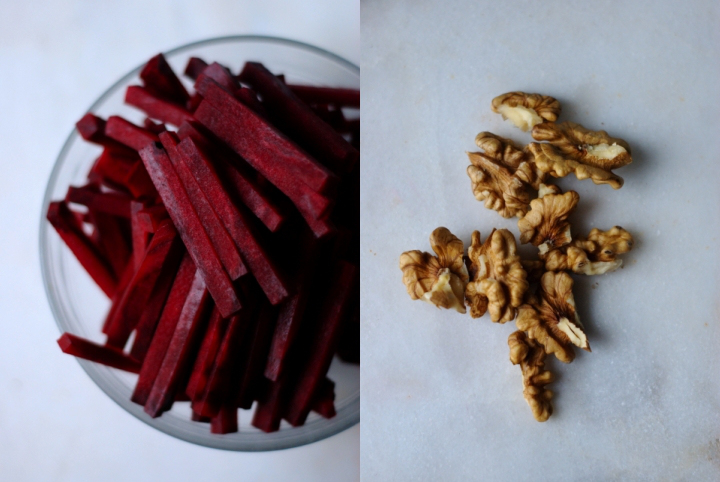
3 large beets / roughly 320 gr cut into matchsticks of about 0,7 cm width
2 teaspoons olive oil
3 teaspoons coriander seeds, ground in a mortar and pestle
¼ teaspoon salt
1 ½ tablespoons red wine vinegar
1 big handful toasted walnuts
1 handful chopped coriander leaves
a splash of lemon juice
1. In a large non-stick frying pan over medium-high heat, add the olive oil, the beets and the coriander seeds. Sautée for 1 to 2 minutes and, as soon as the pan starts sizzling, cover it with a lid. Let the beets cook for 10-12 minutes, lifting the lid once or twice to give it a good stir, or until al dente. At the very last minute of cooking, add the red wine vinegar, salt and toasted walnuts to the beets. Stir well and transfer to a platter, finishing up with a splash of lemon juice and chopped coriander. The beets are particularly good served over cooked brown rice.
Bolo-Rei
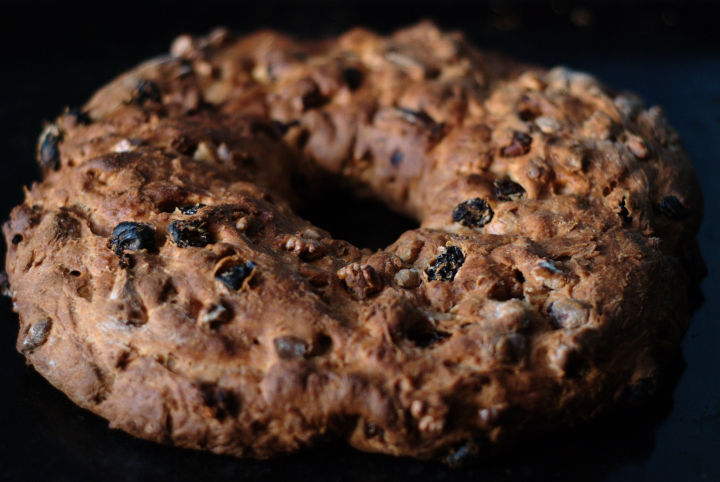
One of the most typical cakes eaten in Portugal around this time of the year is Bolo-Rei (“bolo” stands for cake, “rei” for king). It’s one of those cakes I always enjoyed eating since I was kid (even though it isn’t a kids-friendly type of cake) and now, as a grown-up, I decided to try to bake it myself. I did it yesterday and, even though the cake is a bit of a project (it’s yeast-based, so it has to rise two times), the end result is way better than its store-bought counterpart.
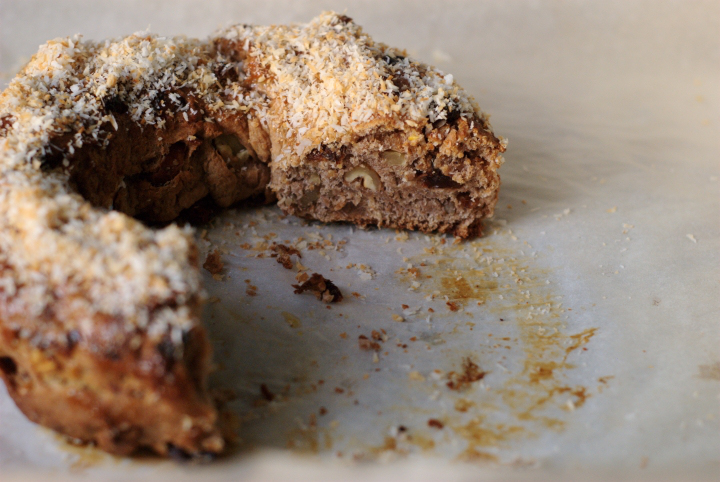
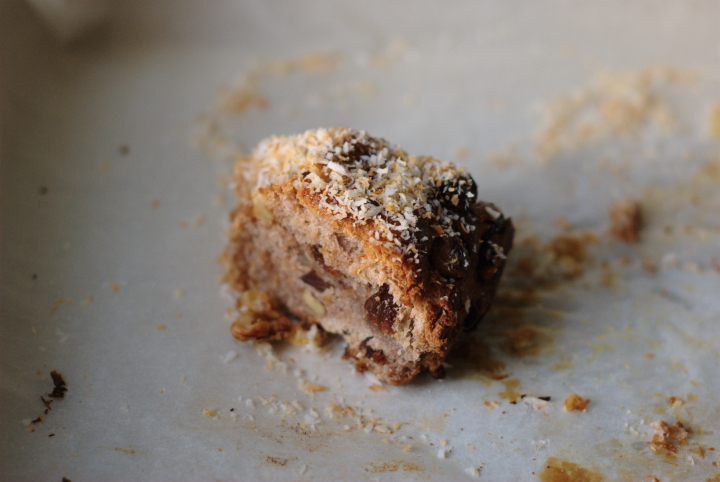
Firstly, I decided to bake two cakes, basing them on different recipes (which only varied slightly in terms of method and rising times). Then, I thought, “why-not-to-go-a-little-bit-further-with-this” and substituted sugar for agave nectar, butter for olive oil, eggs for tofu, and also added spelt flour to one of the doughs (while the other one was made only with regular flour). I was really satisfied with how both cakes came out : they had a soft and bread-like inside, filled with lots of nuts and dried fruits. I finished things off by covering them with a tangerine glaze and toasted shredded coconut. The recipe I’m sharing with you is the one in which I used 100% regular flour: not because it tasted better or anything (the cakes had a similar taste), just that it was the one I actually ended up taking notes of (anyway, I’m pretty sure you could sub half of the amount of regular flour called in the recipe for spelt or any other whole grain variety). Also, this time around I ended up measuring everything in grams, for which I apologise, even though I prefer to do it that way, especially when baking.
Bolo-Rei
(for one large cake)
Ingredients:
4 tablespoons (60 ml) agave nectar
4 tablespoons (60 ml) olive oil
100 grams tofu, crumbled
6 tablespoons (90 ml) soy milk, plus a few extra tablespoons
15 grams fresh yeast
250 grams regular flour
80 grams raisins
80 grams almonds, coarsely chopped
40 grams walnuts, coarsely chopped
55 grams dates (7 units), pitted and chopped
For the tangerine glaze:
freshly squeezed juice of 4 medium-sized tangerines
2 tablespoons (30 ml) agave nectar
1 teaspoon cornstarch
–––
2 to 3 tablespoons of shredded coconut, toasted
1. In a blender combine the first 4 ingredients and mix until smooth. In the meantime, dissolve the yeast in a few tablespoons (3 to 4) of slightly warm soy milk. Add the yeast mixture to the tofu mixture, and run the blender once again, until everything is well incorporated.
2. Sift the flour into a large bowl. Make a well in the middle and, gradually, add the liquid mixture. You’ll end up with a soft, sticky dough, which you want to knead for about 5 minutes (resist the urge to add more flour to it).
3. Transfer the dough to a slightly oiled large bowl, cover it with a clean towel, and leave it to rise in a warm place for about 2 hours or until doubled in size.
4. Once the dough has doubled in size, it’s time to add the chopped nuts (almonds and walnuts) and dried fruits (raisins and dates) to it. Knead the dough in the bowl for 1 minute, or until all the nuts and dried fruits are well incorporated into it.
6. Now, shape the dough into a log, joining the two ends together in order to form a crown. Transfer the cake to a large baking tray lined with parchment paper, cover it again with a clean towel and leave it to rise for additional 45 minutes.
7. Pre-heat the oven to 180ºC (375ºF).
8. Bake the cake in the lower third of the oven for about 30 minutes, or until it slightly browned (see picture above) on top.
9. To make the tangerine glaze, add the tangerine juice, 2 tablespoons agave nectar and 1 teaspoon of cornstarch to a small pan over medium heat, until it reduces and thickens up (do not forget to constantly whisk the mixture).
10. Once the cake is done, cover it with the glaze (you might end up having more than what you actually need) and sprinkle it with the shredded coconut.
Recipe inspired by Ingrediente Secreto, by Henrique Sá-Pessoa, published by Casa das Letras in 2011.
7 comments