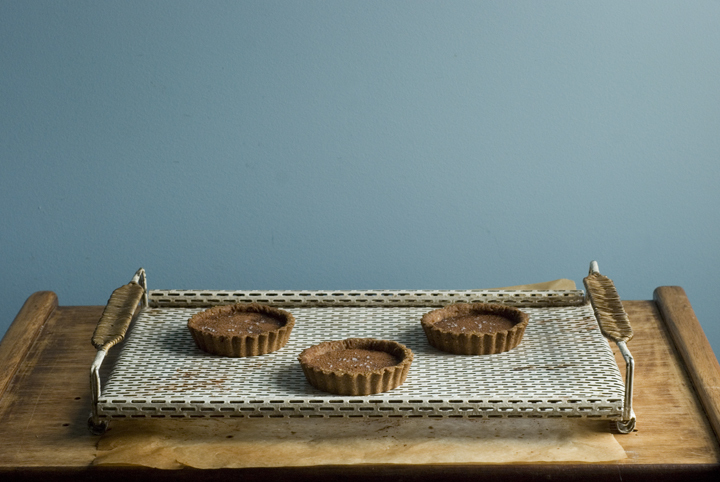
Chocolate Cardamom Tarts
I had the idea for this recipe on my mind for a few weeks now, but was holding back to try it out because sweet goods “don’t really suit my style”. Chocolate desserts, in particular, are far from being my forte. Don’t get me wrong though, I think this one is a great dessert. For chocolate fans. I mean, not the milk-chocolate-candy-bar ones, but for those who appreciate chocolate’s bitterness and more authentic flavour. Let’s say the hardcore fans.
Cardamom is one my favourite spices (followed by cinnamon) and I recently found out it pairs incredibly well with chocolate. These two, coupled together as a filling for a nutty crust, give the little tarts a lot of depth and intensity in flavour. Having said that, and even though this recipe only makes four small tarts, you’ll probably be fine, as I was, with only half of one. A couple specifics: the crust used in here is gluten-free, and because gluten-free doughs tend to be temperamental and hard to work with, you won’t need to roll it, but to press it directly into the tart shells. It won’t look as perfect as if it was rolled but, really, there’s no need to complicate things unnecessarily and only for the sake of presentation…
You might also realise this recipe doesn’t call for any sugar and for me it’s fine as is. However, your taste buds are certainly different than mine and if you find the filling too bitter, one or two tablespoons of coconut sugar or other sweetener of your choice won’t hurt. Lastly, do add the flaky salt or fleur de sel on top of the tarts – it really makes a difference, as salt is known to work as chocolate’s flavour enhancer.
Chocolate Cardamom Tarts
(makes 4 tarts, using small tart shells of 7,5 cm in diameter)
for the crust:
70 g / ½ cup chestnut flour
50 g / ½ cup hazelnut meal
¼ teaspoon salt
1 tablespoon flax seed meal
60 ml / ¼ cup melted coconut oil
2 tablespoons cold water
for the filling:
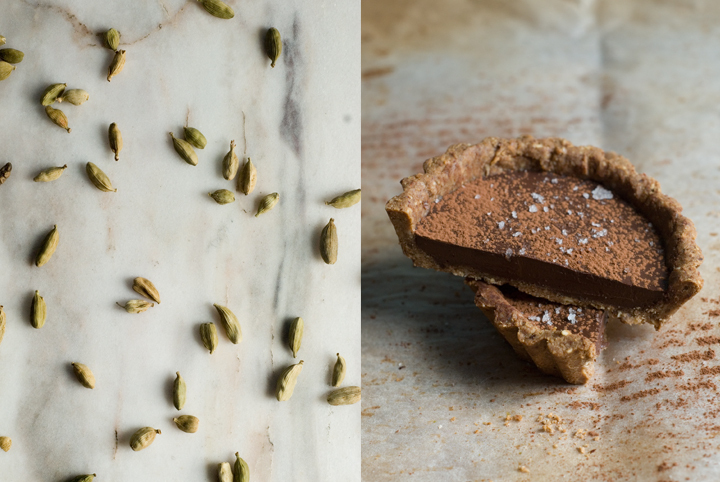
6 cardamom pods, green shells removed and crushed in a mortar
and pestle into a fine powder
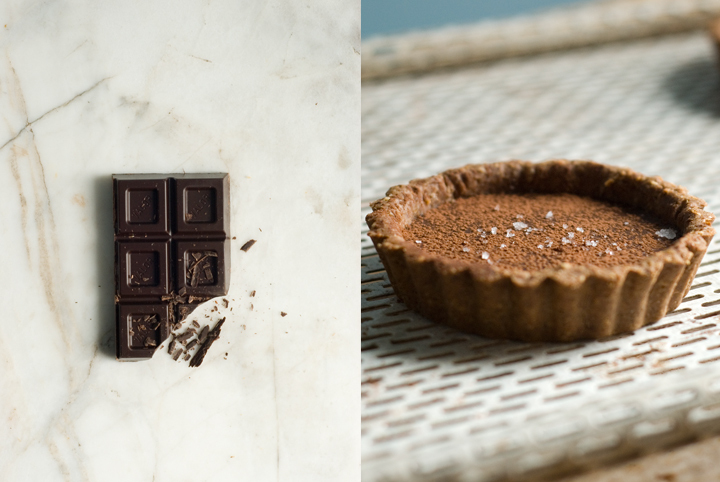
100 g / roughly ¾ cup 70% dark chocolate, cut into small pieces
125 ml / ½ cup coconut milk
extra coconut oil for greasing the tins
cocoa powder
flaky sea salt or fleur de sel
Pre-heat the oven to 175º/350ª degrees.
Sift the chestnut flour, hazelnut and flaxseed meals and salt into a bowl. Add the melted coconut oil and the water, and work the mixture with your hands until you get a firm dough. Divide the dough into 4 equal portions.
Using a pastry brush, grease your tart tins with extra melted coconut oil. Press one piece of dough into one of the tart shells and, working with your hands, make it evenly cover its bottom and sides. Using a fork, pinch the dough a few times. Repeat this procedure with the remaining dough and shells.
Cover the pastry shells with greaseproof paper, fill it with baking beans or pie weights and bake blind for 15 minutes. After that time, remove the beans and paper and bake the tarts for additional 10 minutes, or until they’re golden brown.
In a small pan, heat the coconut milk with the ground cardamom until it almost starts to boil (don’t let it boil, though). Remove from the heat and add the chocolate. Stir around with a wooden spoon until the chocolate has fully melted. Let the mixture cool a bit, but not to the point of starting to set.
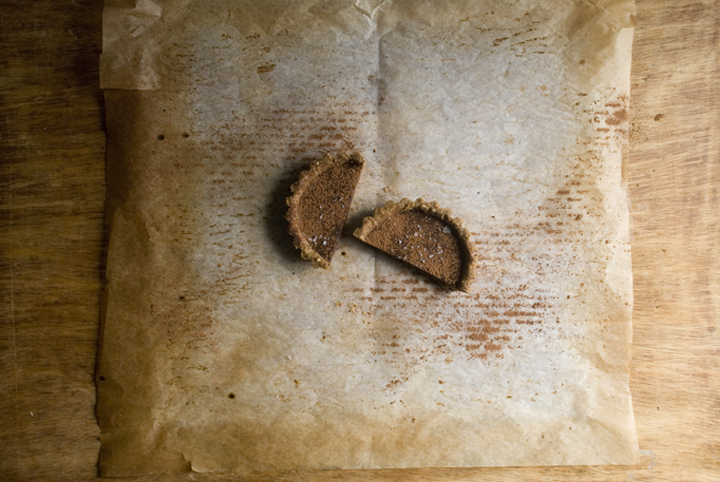
Divide the mixture evenly between the four tart shells. Let it set for 1 to 2 hours at room temperature. After that time, you can refrigerate the tarts for 1 additional hour if you prefer them cold (I actually ended up eating a forth of one at room temperature and enjoyed it). Unmold before serving and sprinkle with cocoa powder and flaky sea salt or fleur de sel.
Chocolate Cake
It took me a while to write this post. Actually, it took me a while to think of a nice and reasonable way to put into words my mixed feelings towards chocolate. It’s a back and forth relationship, the one I have with this ingredient: sometimes I love it, other times I can’t stand it. I have friends who die for chocolate, not being able of spending an entire day without putting their teeth into a chocolate bar or some kind of chocolaty treat. I, on the opposite, can spend quite some time, with no sacrifice at all, without eating it. I’ve learned to enjoy chocolate throughout the years, as it was something I never got enthuasiastic about, but still I tend to prefer sweets made out of other ingredients. My childhood food memories are filled with cinnamoon, orange and banana cakes, apple pies and roulades, goods that I’d help my grandmother preparing, as I’ve spent a great amount of time, as a kid, at her place. Time has passed, but those remain the sweet baked goods I still like the most. Simple cakes with honest flavors. No chocolate involved.
Actually, I had never baked a chocolate cake until yesterday. So, you may wonder, what on earth suddendly has happened to me to bake a chocolate cake? Honestly, I don’t know. I think it was more of a conscious and logical issue. I mean, I’ve cooked and baked so many things so far, and it feels strange not having a chocolate cake recipe in my repertoire. So, to fill this gap, I’ve decided to pick up a good chocolate cake recipe, one that I could easily make egg and dairy-free (if it wasn’t already like that), and bake it. It was not without surprise that, while searching, I found out that Deb, at Smitten Kitchen , posted a recipe for an everyday chocolate cake . The recipe was dead easy to put together (it took me only 10 minutes to measure the required ingredients, mix them into a batter, and put the batter on the prepared loaf pan), and it called for only one egg, which I easily replaced by some puréed tofu.
The cake was that good. It was dense, rich, and not overly sweet, as I don’t like my baked goods to be too sweet. Also, thanks to the addition of muscovado sugar, it developed a nice crust. We enjoyed the cake today right after lunch, and my grandparents, who usually come over for a visit on sundays, even took home some good slices of it with them, to enjoy later on today or tomorrow with a cup of tea.
Chocolate Cake
(for one cake, baked on a loaf pan of 22 x 7 cm)
110 grams (1/2 cup) vegan margarine
190 grams (1 cup) light muscovado sugar
90 grams (1/2 cup) granulated sugar
40 grams (1/4 cup) tofu, crumbled
3 tablespoons water
250 ml (1 cup) soy milk mixed with 1 tablespoon plus 1 teaspoon of lemon juice (this makes a good substitute for buttermilk)
75 grams (3/4 cup) dutch processed cocoa powder (I used Green & Black’s)
190 grams (1 1/2 cups) regular flour
¼ teaspoon baking soda
½ teaspoon baking powder
¼ teaspoon table salt
1. Preheat the oven to 170º.
2. Grease a loaf pan (22 x 7 cm) and line with non-stick parchment paper.
3. In a food processor, combine the tofu with the water and process until creamy. Add the vegan margarine and soy “buttermilk” and process until smooth.
4. In a large bowl, combine the dry ingredients.
5. Add the tofu, margarine and “buttermilk” mixture to the bowl with the dry ingredients, and stir with a spoon until well combined, being carefull not to overmix. You can also do it (as I did) with an electric mixer, as it blends the ingredients more easily.
6. Pour the batter into the prepared loaf pan. Bake for 50 to 60 minutes, or until a toothpick inserted in the center of the cake comes out clean.
7. Let the cake cool on the pan for 10 to 15 minutes, at which point you can transfer it to a wire rack, to cool down completely. It keeps for up to 2 days, wrapped tightly in plastic.
adapted from a recipe posted on the food blog Smitten Kitchen


4 comments