Buckwheat and Hazelnut Pancakes
I think I just found out the reason why I don’t normally post breakfast recipes in here. I love breakfast and, in fact, mornings are the time of the day when I feel the most hungry. However, shooting breakfast foods is, for me, a bit painful because that means I have to hold back my hunger and only eat after I’ve taken pictures of said foods (which can take a while).
After waking up and drinking a few glasses of water, I go into the kitchen and, usually, cook myself a big bowl of porridge. When I’m feeling lazy, granola with almond milk will do. I like routine and I’m pretty good at sticking to it, so my breakfast doesn’t vary much. Actually, and that might come as shock to some of you, I only tasted pancakes a few years ago, when this book came out and I tried its recipe (which I highly recommend) for the well known breakfast treat. This time around, though, I decided to create a pancake recipe following my own instinct. I’m not quite sure that was a good idea: my early attempts didn’t come out well, so I kept trying through the whole last week and ended up eating pancakes for breakfast for the most part of it.
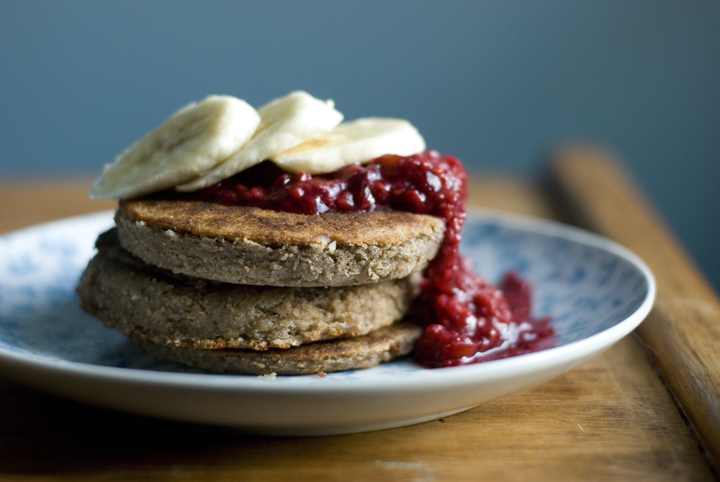
There’s no actual science behind making pancakes and you can definitely adjust the process a bit to your own liking. There are people who prefer theirs fairly thick, while others might like them more on the thinner side. I fit into the former category. For this recipe, and in order for the pancakes to have a good height, I used a metal ring so that the batter didn’t spread to the sides. This is, of course, an optional extra step. For serving, I topped mine with a raspberry-date compote I’ve made early last week, but they do taste heavenly with just a good drizzle of maple syrup on top.
Buckwheat and Hazelnut Pancakes
(makes 4 to 8 pancakes, depending on their size)
50 g / 1/2 cup hazelnut meal
120 g / 3/4 cup buckwheat flour
2 teaspoons baking powder
1/4 teaspoon salt
1 tablespoon coconut sugar
310 ml / 1 1/4 cups oat milk (or any other dairy-free milk)
melted coconut oil for greasing the skillet
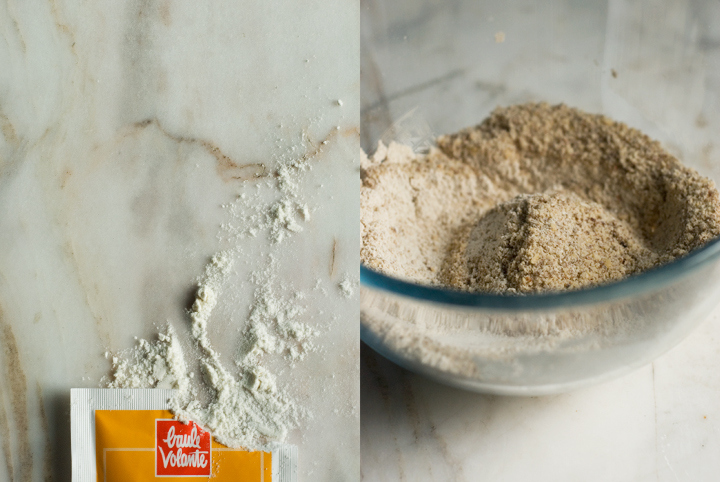
Add all the ingredients (except the oat milk) to a bowl and mix well. Slowly pour in the oat milk and whisk to combine. You’ll get a fairly thick batter, which is what you’re looking for.
Using a pastry brush, grease a large non-stick skillet with the melted coconut oil. Turn the heat to medium and, when the pan is hot, drop for each pancake 3 to 4 tablespoons of the batter. Cook the pancake for 2 to 3 minutes or until its top has just started to set. With a spatula, turn it over and cook for one additional minute.
Repeat the process with the remaining batter. Make sure you grease the pan with additional coconut oil each time you drop the batter into the skillet. Serve the pancakes with agave nectar or maple syrup or, as shown above, with a raspberry-date compote and banana slices.
Chocolate Cardamom Tarts
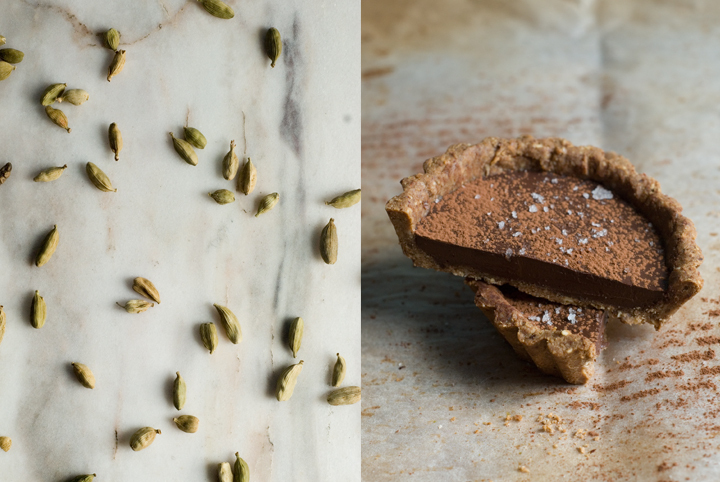
I had the idea for this recipe on my mind for a few weeks now, but was holding back to try it out because sweet goods “don’t really suit my style”. Chocolate desserts, in particular, are far from being my forte. Don’t get me wrong though, I think this one is a great dessert. For chocolate fans. I mean, not the milk-chocolate-candy-bar ones, but for those who appreciate chocolate’s bitterness and more authentic flavour. Let’s say the hardcore fans.
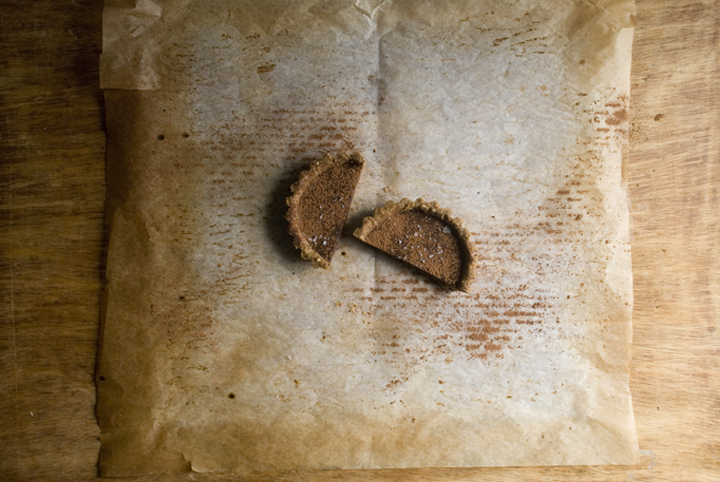
Cardamom is one my favourite spices (followed by cinnamon) and I recently found out it pairs incredibly well with chocolate. These two, coupled together as a filling for a nutty crust, give the little tarts a lot of depth and intensity in flavour. Having said that, and even though this recipe only makes four small tarts, you’ll probably be fine, as I was, with only half of one. A couple specifics: the crust used in here is gluten-free, and because gluten-free doughs tend to be temperamental and hard to work with, you won’t need to roll it, but to press it directly into the tart shells. It won’t look as perfect as if it was rolled but, really, there’s no need to complicate things unnecessarily and only for the sake of presentation…
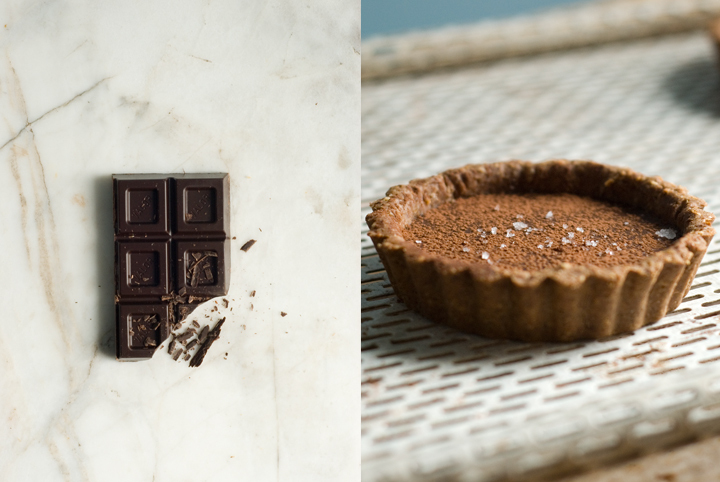
You might also realise this recipe doesn’t call for any sugar and for me it’s fine as is. However, your taste buds are certainly different than mine and if you find the filling too bitter, one or two tablespoons of coconut sugar or other sweetener of your choice won’t hurt. Lastly, do add the flaky salt or fleur de sel on top of the tarts – it really makes a difference, as salt is known to work as chocolate’s flavour enhancer.
Chocolate Cardamom Tarts
(makes 4 tarts, using small tart shells of 7,5 cm in diameter)
for the crust:
70 g / ½ cup chestnut flour
50 g / ½ cup hazelnut meal
¼ teaspoon salt
1 tablespoon flax seed meal
60 ml / ¼ cup melted coconut oil
2 tablespoons cold water
for the filling:
6 cardamom pods, green shells removed and crushed in a mortar
and pestle into a fine powder
100 g / roughly ¾ cup 70% dark chocolate, cut into small pieces
125 ml / ½ cup coconut milk
extra coconut oil for greasing the tins
cocoa powder
flaky sea salt or fleur de sel
Pre-heat the oven to 175º/350ª degrees.
Sift the chestnut flour, hazelnut and flaxseed meals and salt into a bowl. Add the melted coconut oil and the water, and work the mixture with your hands until you get a firm dough. Divide the dough into 4 equal portions.
Using a pastry brush, grease your tart tins with extra melted coconut oil. Press one piece of dough into one of the tart shells and, working with your hands, make it evenly cover its bottom and sides. Using a fork, pinch the dough a few times. Repeat this procedure with the remaining dough and shells.
Cover the pastry shells with greaseproof paper, fill it with baking beans or pie weights and bake blind for 15 minutes. After that time, remove the beans and paper and bake the tarts for additional 10 minutes, or until they’re golden brown.
In a small pan, heat the coconut milk with the ground cardamom until it almost starts to boil (don’t let it boil, though). Remove from the heat and add the chocolate. Stir around with a wooden spoon until the chocolate has fully melted. Let the mixture cool a bit, but not to the point of starting to set.
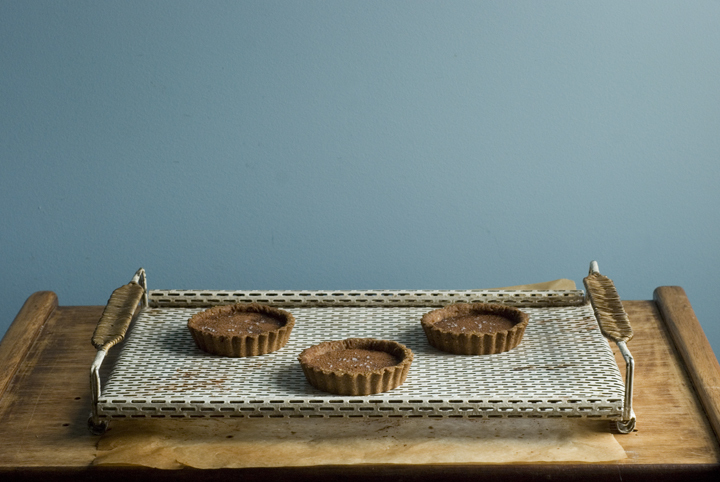
Divide the mixture evenly between the four tart shells. Let it set for 1 to 2 hours at room temperature. After that time, you can refrigerate the tarts for 1 additional hour if you prefer them cold (I actually ended up eating a forth of one at room temperature and enjoyed it). Unmold before serving and sprinkle with cocoa powder and flaky sea salt or fleur de sel.
Black Bean and Red Pepper Burgers
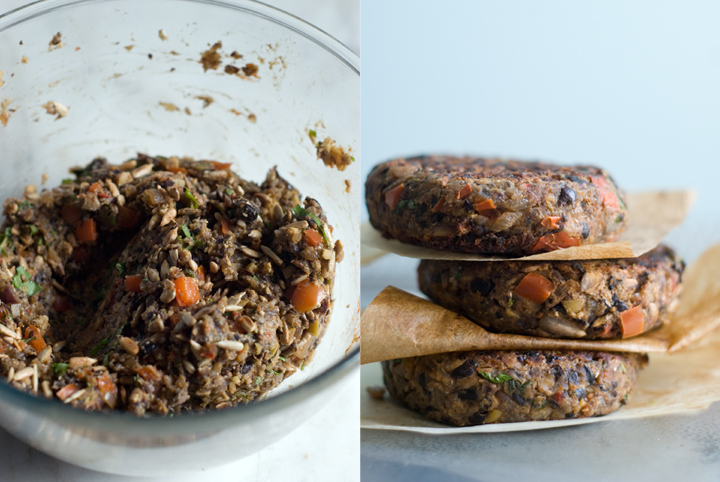
If you check this blog regularly, chances are you’ve probably noticed that I have a soft spot for veggie burgers. Out of the 62 recipes posted to date in here, 6 of them consist of some sort of patties – and being honest, I think there will be a lot more to come. What I mostly like about veggie burgers is that you can play around with ingredient and flavour combinations – mixing spices, nuts, whole grains, legumes and vegetables – and end up with a protein-packed component of a dish. When paired with a salad of sorts, they make quite a satisfying meal.
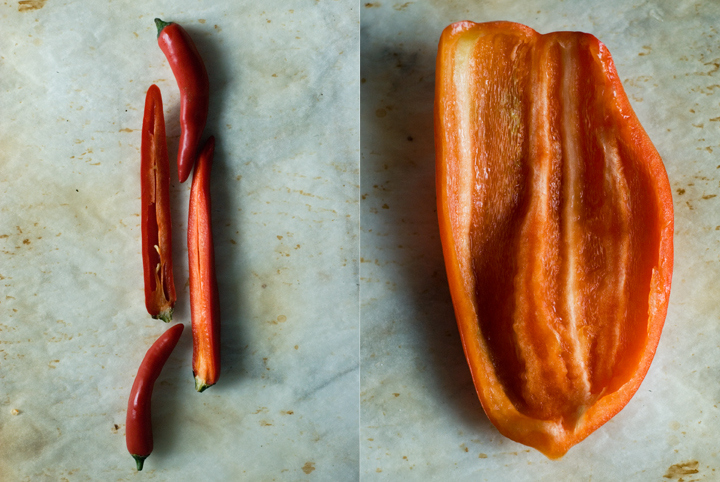
This burger in particular came out of the need to clean up the fridge: there was this neglected pepper in the bottom shelf that would go bad in a matter of days, halves of onions wrapped up in parchment paper for a supposed later use, a nearly empty large jar of olives… I could go on. I strongly encourage you to give these a try as they have a contrast of flavour and texture – soft and salty olives / crunchy and nutty seeds – that really seals the deal for me.
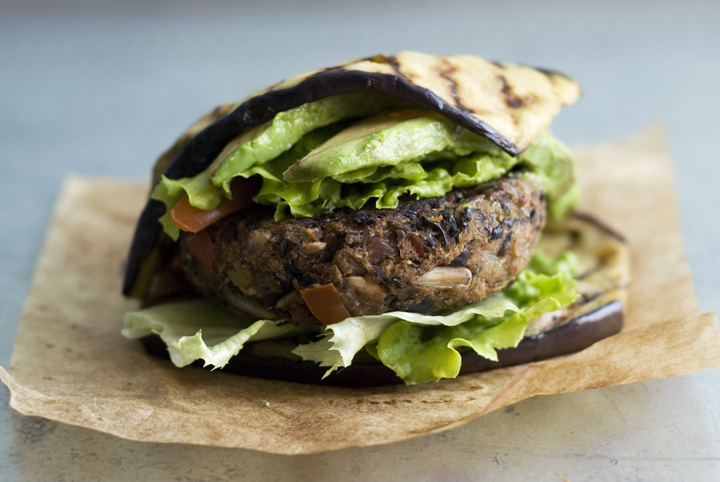
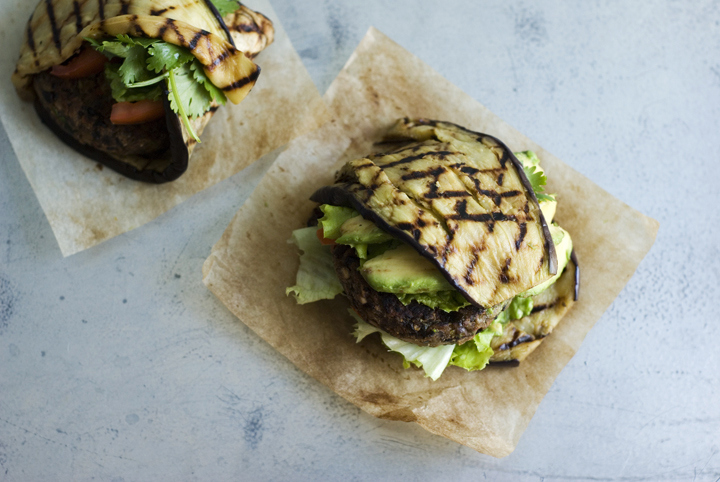
When it comes to serve them, this time around I thought of something different from “the classic” – in between two pieces of bread – and came up with the idea of wrapping the patties in thin slices of grilled eggplant. The eggplant adds extra moisture and a distinct smoky flavour that I’m particularly fond of. In case you want to up the patties’ (already high) protein content, an open-faced “sandwich” made with grilled Portobello mushrooms – just like this one – would be an excellent choice.
Black Bean and Red Pepper Burgers
(makes 6 patties)
2 large onions / 300g / 2 cups, finely chopped
1 medium sized red bell pepper / 220g / 1 cup, finely chopped
1/2 teaspoon salt
2 large garlic cloves, finely chopped
1 teaspoon coriander seeds, lightly crushed in a mortar and pestle
1 ½ teaspoons cumin seeds, lightly crushed in a mortar and pestle
2 tablespoons olive oil
¼ teaspoon smoked paprika (1/2 teaspoon if using regular paprika)
240 g / 1 ½ cups cooked black beans, rinsed and drained
60 g / ½ cup buckwheat flakes (you can substitute with rolled oats)
55 g / 1/3 cup green olives, coarsely chopped
40 g / 1/3 cup sunflower seeds
1 big handful chopped coriander
Heat a large skillet over medium-high heat. Add the sunflower seeds and toast them for 3 to 4 minutes, or until they’re golden brown and smell fragrant.
In the same skillet you used for toasting the seeds, add the finely chopped garlic cloves, coriander and cumin seeds, smoked paprika and olive oil. Cook the spices and garlic over a medium-high flame for 1 minute.
Add the onions, pepper and salt to the skillet, give it a good stir, and turn the heat down to medium-low. Cover the skillet with a lid and let the mixture cook for about 15 minutes, or until the onion and pepper bits are soft and slightly caramelised. You should check the skillet every 5 minutes to avoid burning the mixture – if the latter seems dry, add up to 2 tablespoons of water each time you check it out.
Once the onion mixture has been cooked and cooled down, add half of it to the bowl of a food processor. Add the beans as well. Pulse a few times, or until you get a sticky but consistent paste.
Transfer the bean and onion mixture to a bowl. Add the buckwheat flakes and incorporate well using a wooden spoon. Add the chopped green olives, toasted sunflower seeds and coriander as well. Mix again. You’ll end up with a slightly moister mixture, but it should still be possible to make patties out of it. To make the job easier, wet your hands with cold water and shape the mixture into 6 burgers (or more, depending on the size you choose).
Heat 1 tablespoon of oil, over a medium flame, in a large skillet. Add the patties and cook them for 3-4 minutes on each side. Serve with your favourite condiments and fixings or as suggested above.
Snow Pea and Roasted Almond Pesto
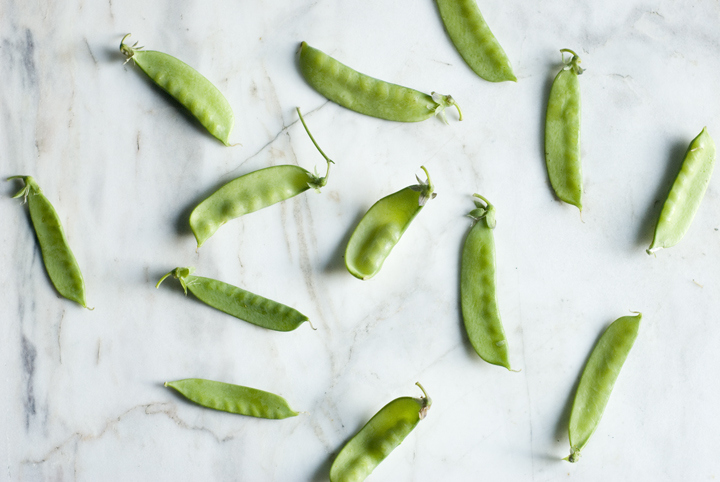
The other day I got a big bag full of spring goods from my aunt’s garden – it had snow peas, pea pods and fava beans (also still in their pods) in there. I sat down in front of the tv for a good hour peeling the pea and fava pods, and by the end of it there was this huge pile of green pods and a smaller one with the actual edible produce (that was eaten in the next two or three days). However, the bag also contained a considerable amount of snow peas (and, thankfully, those do not need to be shelled), and even though I love eating them the simplest way possible – sautéed for just a few minutes with garlic and olive oil – I felt I needed to do something a little bit different with them just for the sake of variety. And so this pesto recipe was born.
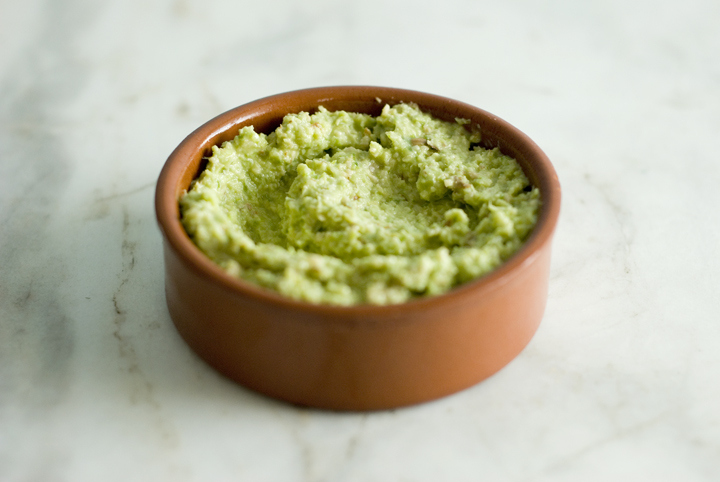
It’s as easy as it gets – mix a couple ingredients in the food processor, purée, season and enjoy. I prefer my almonds toasted (I think they’re more flavourful that way), but if you don’t want to turn on the oven just to toast them, you could use them in their natural state and still end up with a tasty, somewhat unusual, pesto. I brought some of it to a dinner party and we ate it over bread, crackers and even as a dipping sauce/paste to spring rolls but, really, you could do a whole lot of things with it – it’s excellent as pasta sauce, for instance.
Oh and last, but not the least: this blog is now on facebook. Go over there if you want to follow it as it is going to be updated regularly.
Snow Pea and Roasted Almond Pesto
(makes, roughly, 1 1/2 cups)
200 g snow peas
1/3 cup / 55 g almonds with their skins on
zest and juice of one medium lemon
½ cup / 125 ml extra virgin olive oil
½ plus 1/8 teaspoons sea salt
2 garlic cloves
a few sprigs of lemon thyme
Pre-heat the oven to 180ºc /350 F.
Rinse the snow peas and, while trimming their ends, slide your finger along one side to remove any tough strings. Coarsely chop them.
Arrange the almonds evenly on a baking tray. Roast them for 8 to 10 minutes or until golden brown. Set them aside to cool. When the almonds are cool enough to be handled, chop them coarsely.
Put all the chopped snow peas and almonds in the bowl of a food processor along with the other ingredients. Process for 1 to 2 minutes until smooth. Have a taste and adjust the seasonings if needed. Transfer the pesto to a large bowl and store in the fridge. Use within 2-3 days.


14 comments