Sourdough Rye Buns with Raisins and Sesame Seeds
Bread. Such a hot topic these days isn’t it? Since the gluten free craze has started, bread seems to be the number one food to be avoided. I take food intolerances very seriously, but with all due respect to those who have allergic reactions to to gluten, I think we’ve gone way too far with this issue.
I love bread, I really do. I don’t eat bread everyday but I eat it very often. And since this whole discussion around gluten has begun, I decided that instead of cutting it out from my diet (which, quite honestly, wouldn’t work), I would make more sensible choices towards the bread I eat. And that’s when I learnt about sourdough. I’ve had sourdough bread during my time in Holland and I’ve always loved its tangy and characteristic taste.
Unfortunately, here in Portugal we don’t have a tradition of sourdough bread, which left me with the only decision of trying to make my own. I’ve made a starter following this guide, and for the last 6 months I’ve been baking my own bread. Sourdough bread is more easily digested than loaves made with commercial yeast, tastes incredibly good, and also keeps longer.
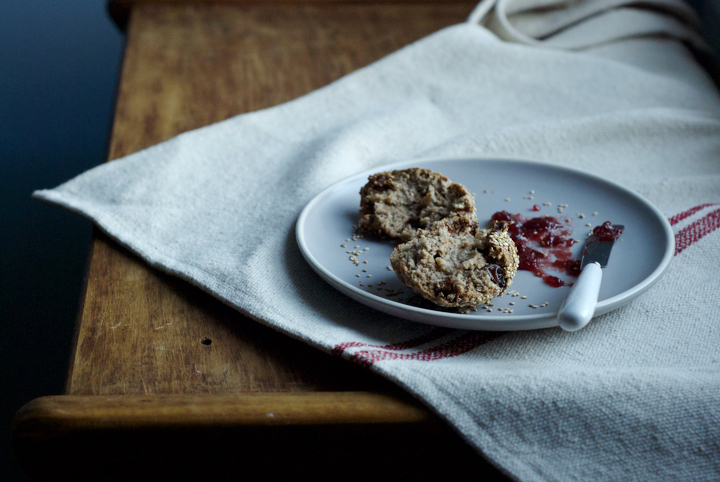
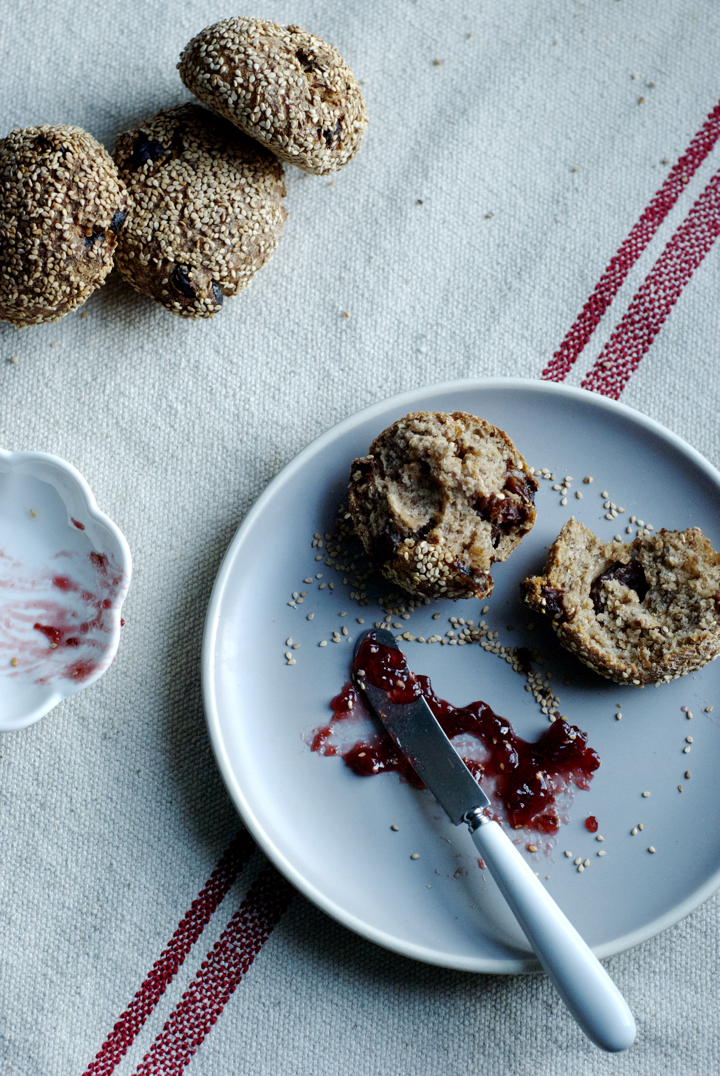
Back to when I was in Holland, I used to go to a whole foods store close to where I lived almost every day to buy their delicious raisin and sesame sourdough buns. Now, I’ve finally found a way to make my own version and, modesty aside, I think they taste pretty close to the original. If you’re intimidated by the idea of making your own sourdough bread, fear not and give it a try. If I knew it was that easy, I would have made it a long time ago. You can make your own starter like I did, or ask a friend who has one to give you some of it. Dear readers from Porto who want to venture into sourdough bread baking: I’ll happily give away some of my starter if you want to. (:
Sourdough Rye Buns with Raisins and Sesame Seeds
Recipe inspired by How to Make Bread, by Emmanuel Hadjiandreou, published in 2011 by Ryland Peters & Small
makes 12 buns
210 g rye flour
90 g whole wheat flour
5 g salt
150 g sourdough starter
240 g warm water
80 g toasted sesame seeds, plus more to coat the buns
150 g raisins
Put the raisins in a medium sized bowl and pour enough boiling water to cover them. Let it sit for ten minutes. After that time, drain the raisins, squeeze them to release the extra moisture and set aside.
In a large bowl, combine the rye and whole wheat flours, the salt and toasted sesame seeds.
In another large bowl, dissolve the sourdough starter in the water. Add the flour mixture to the bowl with the (dissolved) starter and mix until a dough comes together. Cover the bowl with plastic wrap and let it sit in the fridge overnight.
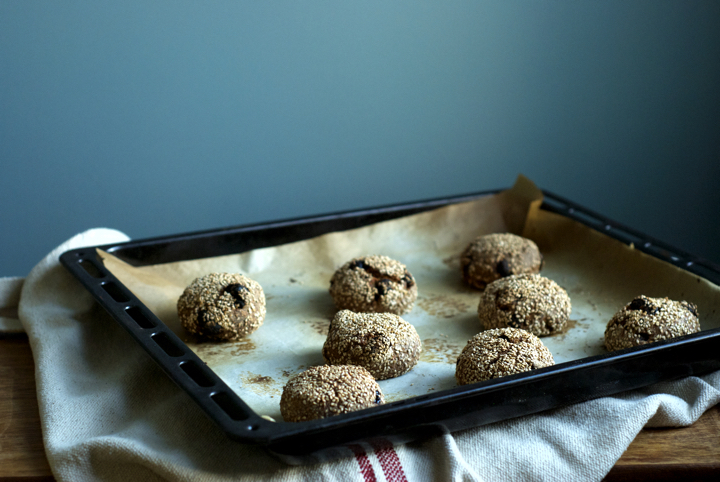
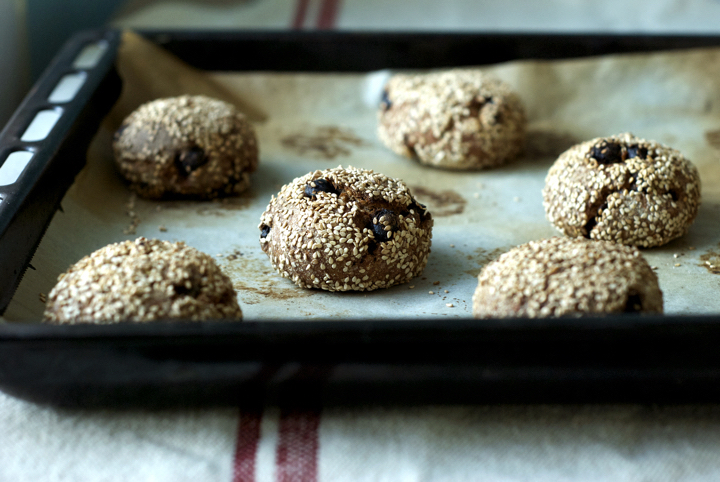
The next day, take the dough out of the fridge and divide it into 12 portions. Put a reasonable amount of sesame seeds in a large plate. Shape each portion into a bun, brush the buns with a little water, and roll them into the sesame seeds.
Put the buns in a large tray lined with parchment paper, cover with a clean towel and let rise in a warm place for 1 ½ hours. In the meantime, pre heat the oven to 240c and place a baking tray in its lowest third. As soon as the oven reaches the right temperature, place the tray with the buns in the middle third of it. Add a few ice cubes to the baking tray in the lowest part of the oven and close the door. Bake for 25-30 minutes.
Cool the buns on a wire rack for at least one hour before eating.
Hazelnut and Banana Bread
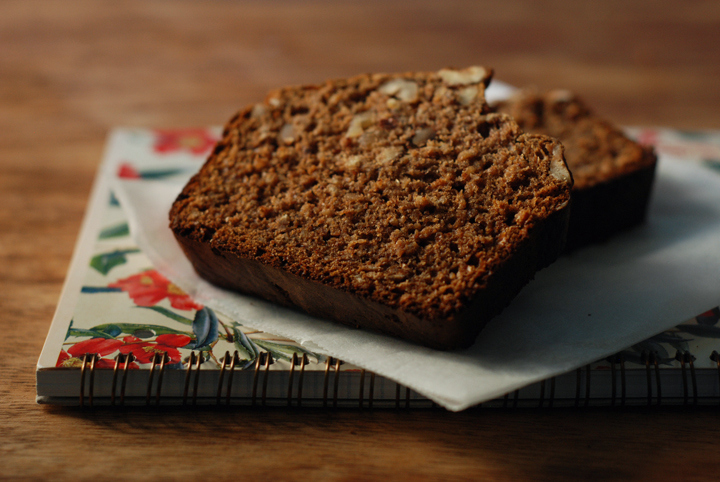
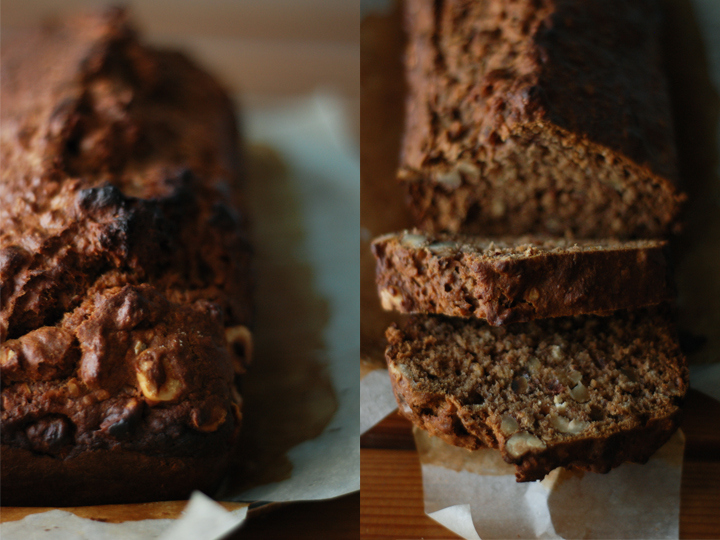
I’ve baked a lot this week: there was a birthday cake for my boyfriend, a spice cake to bring to a picnic, and this hazelnut and banana bread, that I made yesterday. I’ve told you before that I’m not that much of a baker. Actually, baking cakes always scared me a bit, since so far I had way too many unsuccessful experiences to count. But, anyway, it seems I’m mastering the art of vegan baking, as those three cakes that I baked this week turned out quite yummy. The hazelnut and banana bread is the one I decided to share with you, since it’s almost 100% created by myselft.
To be fair, I first started to follow a recipe from an old cookbook that my mom bought a long time ago, but things weren’t working out (the recipe didn’t call for enough wet ingredients, and the batter ended up not coming together at all), so I started things over with a whole new approach. I might have been on a lucky day, as the bread turned out quite good: it’s definitely moist, and as far as the flavor goes, it’s delicate and slightly sweet, which makes it perfect for breakfast. First things first: use very, very, ripe bananas, as it makes all the difference. Baking them will enhance even more their sweet flavor, so make sure not to skip that step. A final note: I used hazelnuts in here, but feel free to substitute them for walnuts or pecans, as they work out very well too.
Hazelnut and Banana Bread
(makes one loaf)
4 very ripe bananas, unpeeled
½ cup (125 ml) olive oil
½ cup (55 grams) muscavado sugar
1 and ½ tablespons ground flax seed, mixed with 8 tablespoons water
1 non dairy, unsweetened, yogurt (100 grams)
½ cup (125 ml) soy milk
1/3 cup (80 ml) agave nectar
1 teaspoon baking soda
1 teaspoon baking powder
2 teaspoons cinnamon
1/8 teaspoon salt
¾ cup rolling oats
1 cup (135 grams) unbleached all purpose flour
1 cup (135 grams) bleached all purpose flour
¾ cup (120 grams) hazelnuts, toasted and coarsly chopped
1. Preheat the oven to 180ºc. Line a (25 by 12 by 7 cm) metal loaf pan with non stick parchment paper. Set aside.
2. Put the bananas, unpeeled, in a large baking dish and bake them for 15 minutes or until their skins are totally black. Remove from the oven and let cool. When they’re cool enough to be handled, take the flesh out of the bananas and put it into a bowl. Set aside.
3. In a large bowl, sift together the flours, baking soda, baking powder, salt and cinnamon. Mix in the rolling oats.
4. Beat together the olive oil, agave nectar and muscavado sugar in the bowl of an electric mixer at medium-high speed, until well incorporated. Reduce the speed to low and add the yogurt, soy milk and flax seed mixture. Finally, mix in the bananas.
5. Remove the bowl from the mixer and fold in the flour mixture and hazelnuts.
6. Pour the batter into the loaf pan, spreading evenly, and bake in the middle of the oven for 50 to 60 minutes, until golden brown and a toothpick inserted in the center comes out clean. Mine was done after 50 minutes, but after 35 minutes of the baking time, I covered the top of the pan loosely with aluminium foil, to prevent the top crust of the bread from browning too much.
7. Cool the loaf in the pan for 10 minutes, then turn it out onto a rack to cool completely. I think this bread is at its best the day after it’s baked.

3 comments