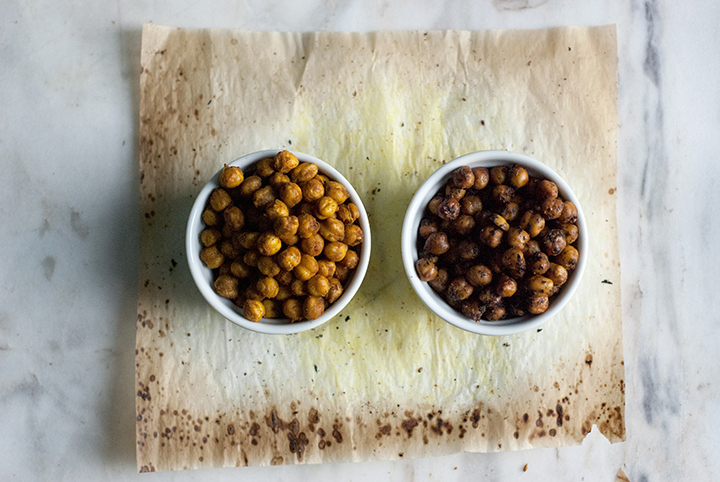
Roasted Chickpeas – Two Ways
I had never been much into sports. As a kid, I tried swimming and gymnastics and, even though I liked the later way more than the former, it wasn’t something I was passionate about. In my teen years, I was introduced to fencing and started to realise that the kind of physical activity I liked had to be in the form of individual, not collective, sports.
In the recent years, and after a very long time – way too much time – of not exercising at all, I started to run. It wasn’t love at first sight – I had many bad runs where I practically ran out of breath and ended up giving up – but, over the time, I started to really enjoy it. These days, I can’t imagine myself not running on a regular basis. I don’t have the right emotional vocabulary to describe how good running makes me feel, but I love every aspect of it – the fresh breeze stroking my cheeks, the feeling of freedom, that sort of alienation from reality by being able to not think about anything… I’m sure most of you guys who run can relate.
Over the last 2/3 months, I’ve been training for my first half-marathon. As the date of the race approaches – it will be in two weeks – I’ve been increasing my running distance. That means that, even though I have the music to keep me distracted, I also have plenty of time to elaborate ideas and projects in my head. Sometimes, I find myself thinking about recipes and ingredient combinations to try. I had the intention to make roasted chickpeas in the back of my head for a while, but it was only while running, the other day, that I thought about the particular flavour combinations I’m now sharing with you.
I’ve never thought roasted chickpeas would be so good. You’ll end up with tasty crunchy bits, packed with flavour, that not only make perfect protein-packed snacks, but are also a great addition to salads. This one’s a very straight-forward recipe, but I’d advise you not to skip the step where you have to take the chickpeas from the oven for a couple of minutes and then pop them back in again. It really makes them crunchier. I also think that home-cooked chickpeas work best for this recipe instead of canned. Canned chickpeas tend to be too soft and mushy, whereas with the dried variety, you’re in control and will likely avoid over-cooking. However, if cooking beans from scratch isn’t your thing, just make sure you really dry the chickpeas well before putting them into the oven.
Roasted Chickpeas – Two Ways
(serves 6, as an appetizer)
475 g / 2 ½ cups cooked chickpeas
for the turmeric/cumin version:
½ teaspoon turmeric
2 teaspoons cumin seeds, crushed in a mortar and pestle
a pinch of dried chilli flakes
1 ½ teaspoon olive oil
salt to taste
for the nori/sesame version:
1 nori sheet
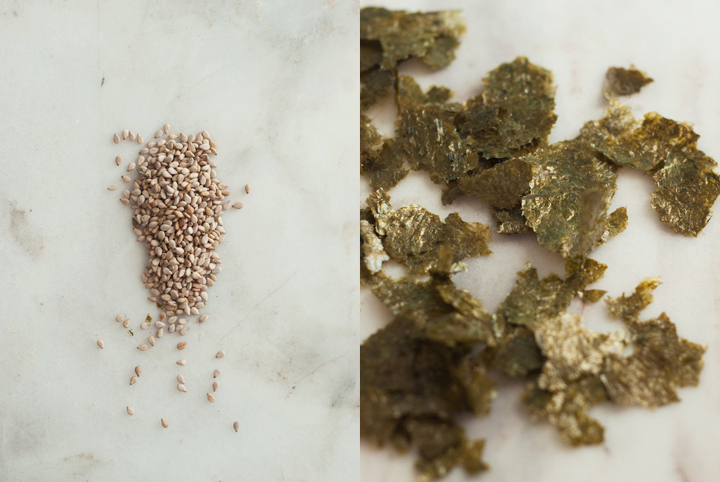
2 teaspoons toasted sesame seeds
1 ½ teaspoons olive oil
salt to taste
tamari sauce to taste
Pre-heat the oven to 200C.
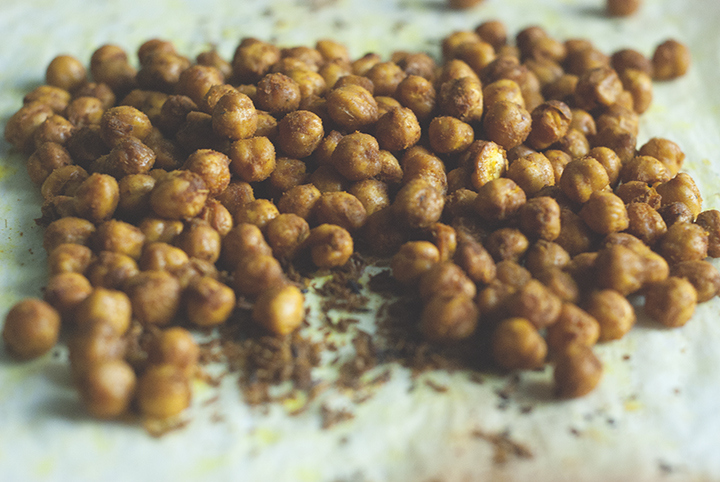
Spread the chickpeas over a large clean kitchen towel. Grab another towel and put it on top, gently pressing down in order for the moisture to be absorbed. Add half of the chickpeas to a bowl, and the other half to a different bowl.
For the turmeric/cumin version: Combine half of the chickpeas with the oil, followed by the spices and salt. Toss well to evenly coat them.
For the nori/sesame version: Place the nori sheet in a small baking dish. Toast it, in the pre-heated oven, for 10 minutes. Remove it from the oven and let it cool a bit until it crisps up. Now, tear the nori into pieces and add it to the bowl of a food processor, pulsing until you get a fine powder. At this stage, add the sesame seeds and pulse a few times, just to break them down a bit.
Mix the other half of chickpeas with the olive oil. Add the nori/sesame mixture, a pinch of salt, and toss everything together.
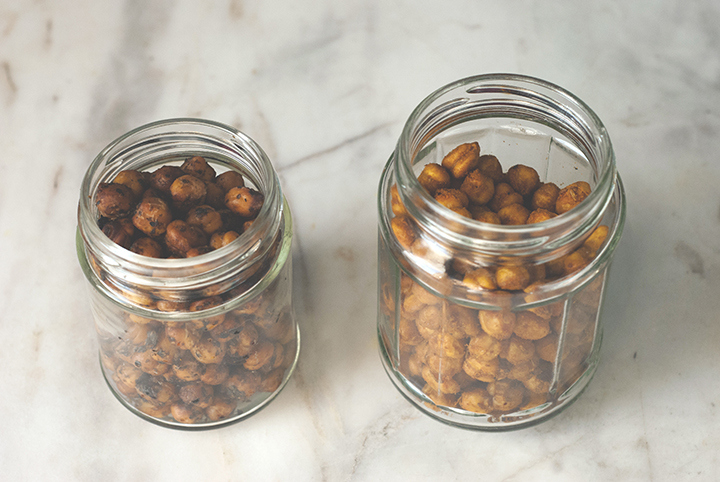
Place both chickpeas’ mixtures in two separate baking tray and roast, in the top and middle thirds of the oven, for 30 minutes, rotating halfway through. After that time, take the trays out of the oven and let them cool, at room temperature, for at least 5 minutes. Return the chickpeas to the oven for additional 10 minutes or until golden brown. Once ready and cooled, coat the nori/sesame chickpeas with a splash or two of tamari sauce. Store the chickpeas in glass jars or tightly sealed containers — they’ll keep well for a week.
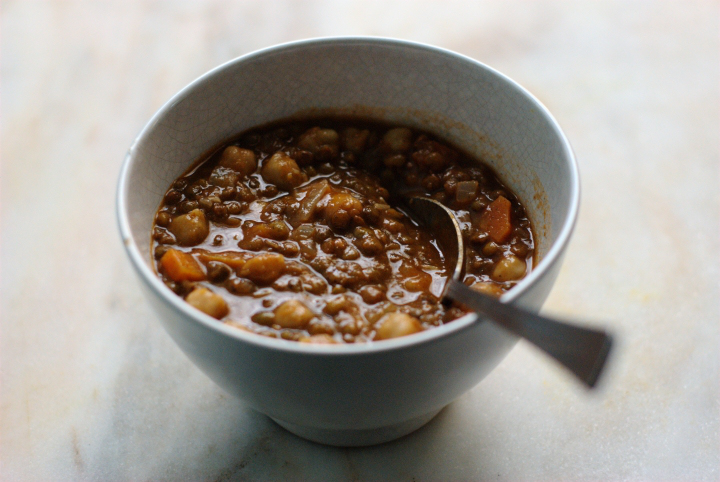
My Take on Harira
When I was a kid (probably 6 or 7 years old) my parents took me on a road trip to the south of Spain. Eventually, after hours and hours of driving under a massive sunlight, we arrived at Gibraltar (which technically is a British territory). Since we were so close to the north of Africa, I proposed we could go to Morocco, something that unfortunately didn’t happen as the plan was to stay for about a week in Málaga.

Flash-forward to date and I have yet to go to Morocco. Until then, I will try to continue to bring Morocco to me by exploring its cuisine and making my own versions of dishes such as tagine and harira. The latter – a chickpea and lentil soup – is traditionally made with meat (which I obviously don’t consume) and, sometimes, rice and vermiccilli noodles. The soup is cooked for a long period of time – sometimes over an hour – and thickened up with a couple tablespoons of flour, almost verging on a hearty stew. It is a one pot meal, and what a delicious and filling one… I’ve been having Harira for dinner for the last couple of days and I can tell for sure it is the best lentil-based soup I have ever made. Its heart-warming nature makes it just the perfect meal for the few cold winter nights we still have ahead.
Harira
(serves 6 to 8)
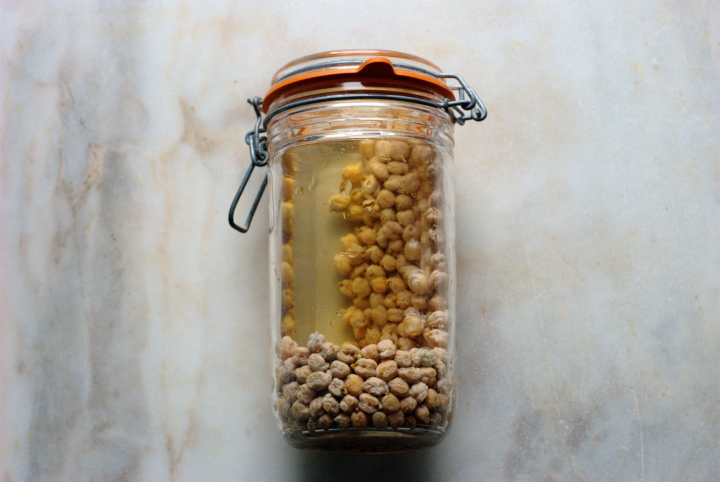
½ cup / 95 g dried chickpeas, sorted, soaked overnight, rinsed and drained
1 cup / 215 g puy lentils
3 tablespoons olive oil
1 medium onion / 1 cup / 130 g finely chopped
3 garlic cloves, peeled and finely sliced
2 medium carrots / 1 cup / 130 g cut into small cubes
1 teaspoon ground cinnamon
2 teaspoons ground ginger
2 teaspoons cumin seeds, coarsely pounded in a mortar
½ teaspoon freshly ground black pepper
a pinch of red pepper flakes
1 can / 2 cups / 450 ml canned tomatoes, liquidized in a food processor
5 ½ cups water
1 ½ teaspoons sea salt
1 tablespoon cornstarch
2 lemons, quartered
1. In a large pot over medium heat add the oil, onion, garlic, carrots, cinnamon, ginger, crushed cumin seeds, pepper and pepper flakes. Sauté for 5 minutes or until the onion has softened. If the mixture seems dry and the spices start to stick to the pot, add up to ¼ cup of water to loosen things up a bit.
2. Add the liquidized canned tomatoes, chickpeas and 5 cups of water to the pot. Turn the heat up to medium-high and let the liquid come to a boil. Once the liquid is boiling, lower the heat to low, cover the pot with a lid and cook for 30 minutes.
3. After that time, add the puy lentils and cook, covered, for another 30 minutes.
4. In the meantime, in a small bowl, combine the cornstarch with ¼ cup of water. Stir well so that the cornstarch dissolves completely.
5. At the very last minute of cooking, add the salt as well as the cornstarch mixture to the soup. Give it a good stir with a wooden spoon (it will thicken up a bit thanks to the cornstarch), have a taste and adjust the seasoning. Serve in large bowls, adding a splash of lemon juice to each individual serving.
Chickpea and Aubergine Falafel
For a dinner I was invited to on Saturday, I made falafel. Falafel is like the kind of food I’m almost sure every vegetarian on earth has tasted at least once in his/her lifetime. It’s also one of the things I always end up eating every time I travel. However, I had several bad experiences when I tried to make these spiced chickpea balls at home – most of the times, the falafels wouldn’t hold together and consequently fall apart while cooking. This time around I approached the recipe in a different way though – instead of canned chickpeas, I used dried ones, which made all the difference in terms of structure. I also added grilled aubergines to the mixture to provide some depth in terms of flavour. When it comes to falafel, I like it fried more than baked, even though the latter method of cooking is clearly healthier than the former. If you’d rather have it baked, go ahead – just bare in mind the balls won’t be as crispier as if they were fried, even though that comes with the huge advantage of cutting down a bunch of extra calories. Also, frying is, at least for me, a bit of a scary technique – whenever I fry something (which I do rarely), I’m always afraid of getting burnt by the hot oil, so I keep this safety distance from the pan/pot in which things are being fried, and then when I finally decide to turn them over it’s usually too late and they’re already burnt. Anyway, for this post I tried to fry the falafels and the whole process went extremely well – the fact that they were quite firm (I let them sit a few hours in the fridge), has probably contributed to the success. I’ll leave you with this recipe then, but not without the promise of a soon come back.
Chickpea and Aubergine Falafel
(makes about 25 medium sized falafel)
Ingredients:
1 ½ cups (300 g) dried chickpeas
2 tablespoons cumin seeds, crushed
1 tablespoon coriander seeds, crushed
1 big handful coriander (aprox. 7 g)
1 big handful mint (aprox. 12 g)
1 garlic clove, minced
1 teaspoon baking soda
¼ cup regular flour
¾ teaspoon salt
zest and juice of one lemon
2 medium sized aubergines (aprox. 580 g), cut into rounds of about 0.7 cm each
olive oil for frying or baking
1. Put the dried chickpeas in a large bowl and add enough water to cover. Let them soak overnight or for at least 8 hours before using. The day after, drain the chickpeas and wash them thoroughly under cold running water.
2. Now it’s time to salt the aubergine slices: put them in a large tray and add 2 to 3 tablespoons of salt. Leave them like that for at least 30 minutes – you’ll notice they’ll release some liquid and feel softer to the touch. Then, rinse the slices, wash them thoroughly and dry them with the help of a clean kitchen towel.
3. Add chickpeas and all the other ingredients, except the aubergines, to a food processor, and process everything until a thick paste comes together. Transfer the chickpea mixture to a large bowl and set aside.
4. In a large and lightly oiled grilling pan over medium/high heat, cook the aubergines’ slices for about 3 minutes on each side, or until they’re slightly browned or have grilling marks. When the slices are cool enough to handle, cut them into small pieces and add them to the chickpea mixture.
5. Shape the chickpea mixture into medium-sized balls and line them on a baking sheet. Refrigerate for at least 3 hours – the falafels should be cold and firm; if they’re not, let them sit in the fridge for a little longer.
6. Now, you can either fry or bake the falafels. If you want to fry them, heat about 5 cm (2 inches) of oil (I used olive oil) to aprox. 180 C (350 F) in a deep pan or pot. Add the falafels in small batches and fry them for 4 to 6 minutes or until golden brown. Transfer the falafels to a plate covered with paper towels to drain the excess oil. If you prefer to have them baked, brush the balls with olive oil and bake them in the oven (180 c / 350 F) for 15 minutes or until golden brown, turning halfway through for even browning.
7. Serve the falafels in pita bread with some yoghurt-based (I used a soy-based vegan yoghurt) sauce, chopped tomatoes, avocados and salad leaves.
Chickpea and Shredded Cabbage Salad with Miso Tahini Dressing
I haven’t been in the kitchen that much in the past few days, hence the lack of posting around here. I have to confess I’ve been feeling lazy to cook, also because here in Portugal we’ve been under extremely hot temperatures - around 35º degrees -, and all I don’t want to do is to spend time in front of an hot stove. So, nothing better than a great and easy salad recipe such as this one, that will only take you a few minutes to prepare.
The only trick in here is to make sure the cabbage is sliced very thinly; if not, the salad will not be as light as it is supposed to be. As far as the dressing goes, it was my first time putting together tahini and miso, and I was surprised by how well the combination worked out: the nutty taste of the tahini seems to soften miso’s typical saltiness, without actually masking its taste. If you shred the cabbage and make the dressing ahead of time, you can put this salad together in less than five minutes. I served this at room temperature, but I bet it would be delicious served cold too. If you’re planning to do the latter, place the salad in a large bowl, cover with cling film, and refrigerate it for 1 to 2 hours or until chilled to your liking. This method will also help the flavors meld together, contributing for a tastier salad.
Chickpea and Shredded Cabbage Salad with Miso Tahini Dressing
(serves 3, as a side)
260 grams canned chickpeas, drained and rinsed
1 small cabbage (180 grams)
1 teaspoon minced chilli
for the dressing:
1 tablespoon tahini
1 tablespoon mugi miso
2 tablespoons lemon juice
2 tablespoons warm water
1 tablespoon olive oil
2 teaspoons agave nectar
1. Start with the cabbage: cut it into halves, remove the hard core, and shred each halve into very thin strips. You don’t want to have very long strips, so cut them in half if needed.
2. In a large bowl, combine the chickpeas and shredded cabbage. Set aside.
3. For the dressing, combine all the ingredients in a medium size bowl, and whisk them together until you achieve a creamy consistency. At this point, you can add a bit more water if you want a thinner dressing, although I like mine on the creamy, slightly thick side.
4. Add half of the dressing to the bowl with the chickpeas and cabbage and toss everything together. At this point, you can refrigerate the salad for at least 1 hour or, as I did, serve it at room temperature.
5. To serve (either cold or at room temperature), divide the salad among 3 plates, sprinkle with the minced chilli, and spoon the remaining dressing over the top of each serving. Serve immediately.

leave a comment